16 Simple Wedding Hairstyles for Medium Hair You Can Do at Home (2026)
Quick Tutorial Video
Before You Start: The At-Home Prep (Night Before + Morning Of)
DIY wedding hair is won or lost before you pick up a single bobby pin. Do this prep and every style below gets easier.
The night before:
- Wash your hair the night before, not the morning of. Day-old hair grips pins and holds curls far better than freshly washed, slippery hair. If your hair gets oily fast, wash the night before and use dry shampoo at the roots in the morning.
- Sleep on a silk or satin pillowcase (or wrap hair in a silk scarf). It cuts frizz and keeps waves smooth.
- Lay out your kit. Bobby pins (at least 20 — you will lose some), 2–3 clear elastics, a tail comb, a paddle brush, a 1-inch curling iron or wand, heat protectant, texturizing spray, medium-hold hairspray, and one strong-hold hairspray for finishing. Add your veil, accessories, and a hand mirror so you can check the back.
- Do a full trial run at least once before the wedding week. Time yourself. Photograph the back. Dance in it. If it survives 30 minutes of moving around, it will survive the day.
The morning of:
- Start with dry, day-old hair. If you must wash, blow-dry fully and let hair cool completely — warm hair will not hold a style.
- Work in this product order: heat protectant → style (curl/straighten) → texturizing spray at the roots → pin → hairspray. Spraying before pinning makes hair slippery; pinning before spraying lets pins anchor.
- Style your hair before makeup, or wear a button-front shirt you can remove without pulling it over your head.
- Give yourself the style’s time plus 15 minutes. Wedding-morning nerves slow everyone down.
Mirror setup that actually works: a big mirror in front of you plus a hand mirror for the back, in bright daylight or a well-lit room. A dim bathroom mirror is how "it looked fine at home" disasters happen.
The 16 Styles
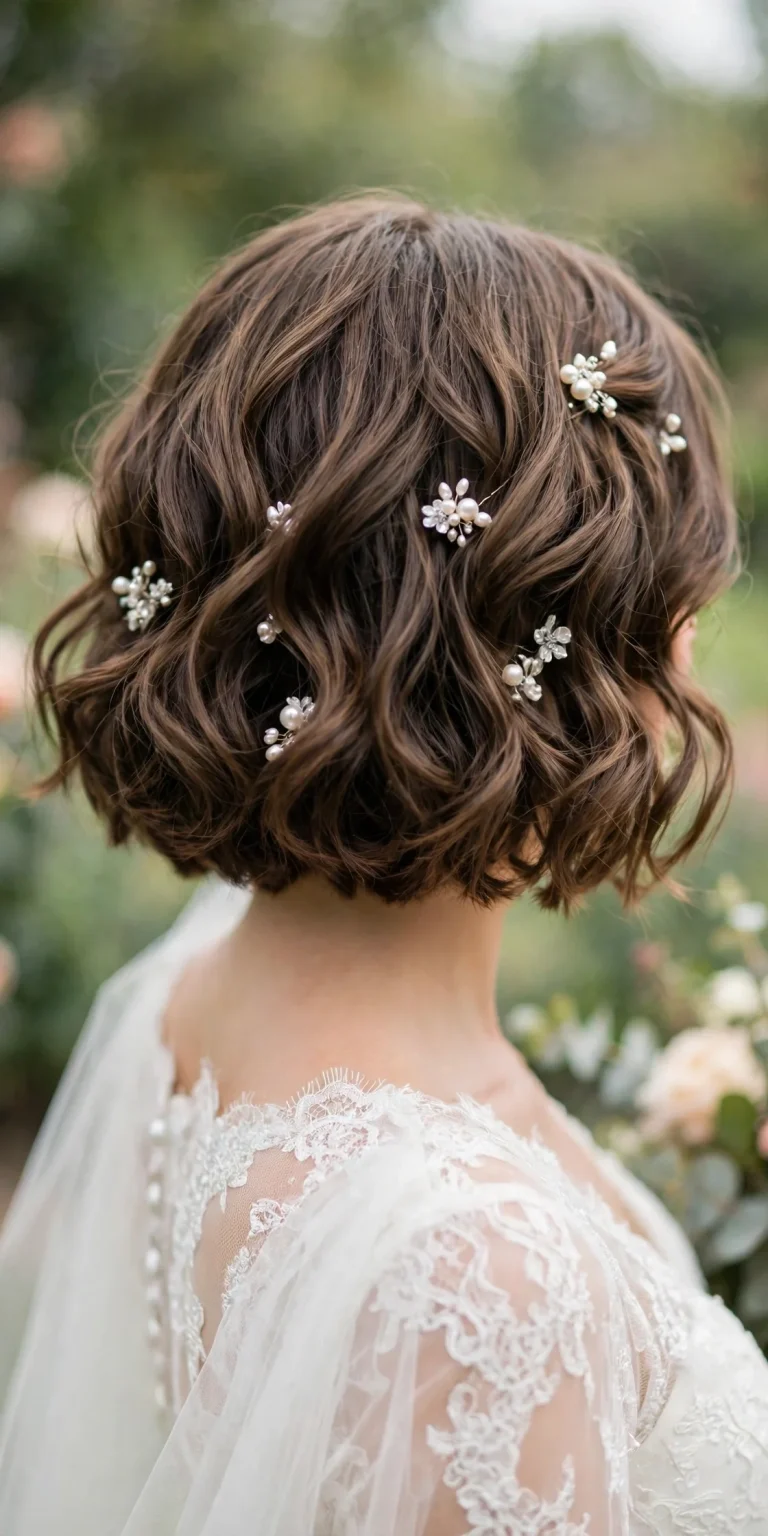
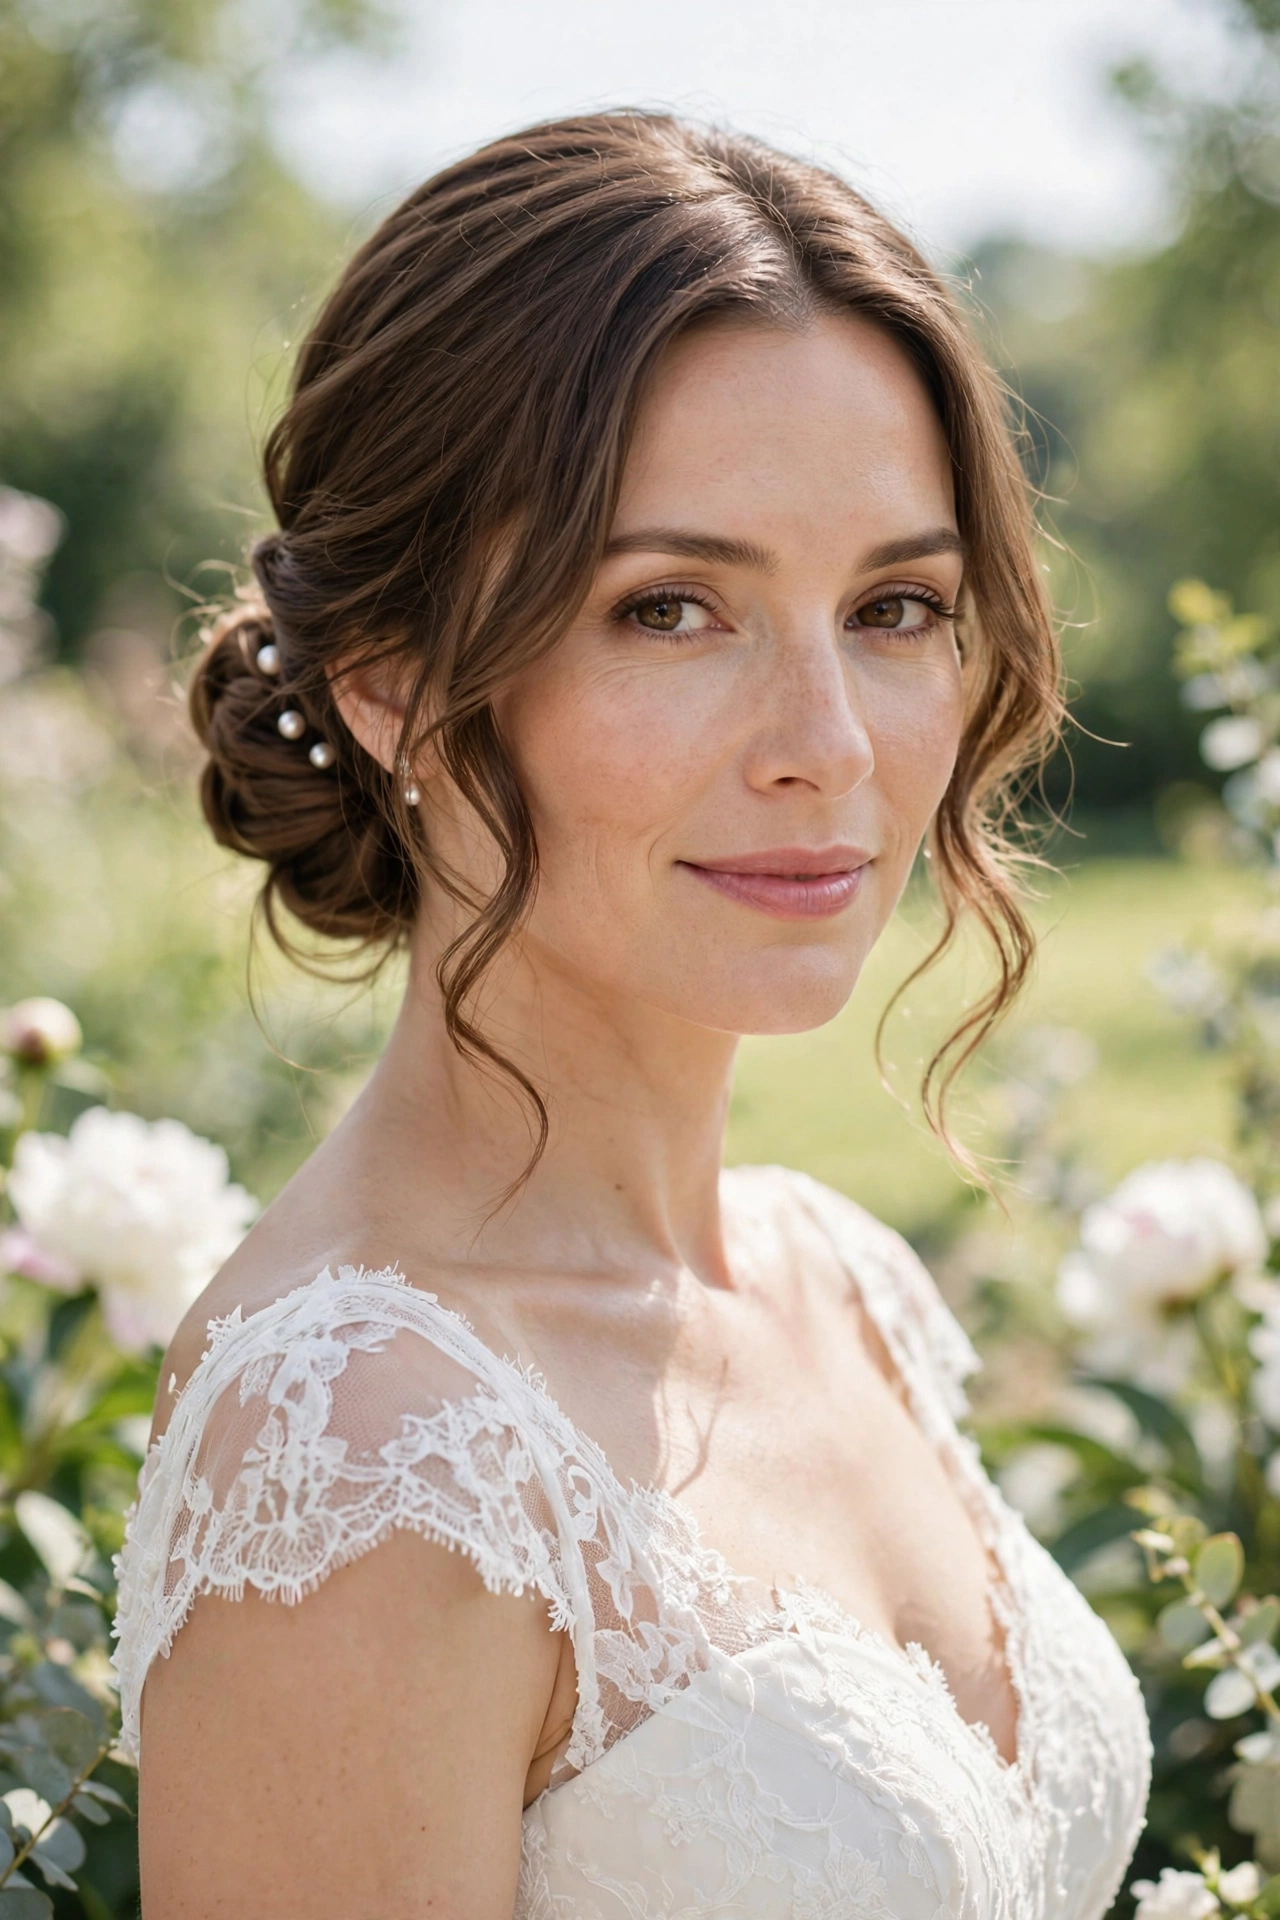
1. Low Chignon with Pearl Pins (15 min · Easy)
The classic low bun wedding hairstyle for medium hair at home — elegant, fast, and it holds a veil beautifully.
You’ll need: 2 clear elastics, 6–8 bobby pins, 3 pearl pins, texturizing spray, medium-hold hairspray.
How to do it:
- Part your hair in the middle or slightly off-center, whichever you prefer.
- Pull all your hair into a low ponytail at the nape of your neck and secure with a clear elastic.
- Split the ponytail into two sections. Twist each section loosely, then wrap both around the base of the ponytail in opposite directions.
- Tuck the ends under and pin with bobby pins in an X pattern (two pins crossed over each other grip far better than one).
- Pull out two thin face-framing pieces at the front and curl them lightly.
- Slide in 3 pearl pins in a small triangle on one side of the bun. Mist with hairspray.
Best for: Oval and heart-shaped faces, straight or wavy hair, formal and church weddings, strapless or high-neck dresses.
At-home tip: If your chignon looks flat, gently pull the twisted sections outward after pinning — this "pancaking" makes medium hair look twice as full.
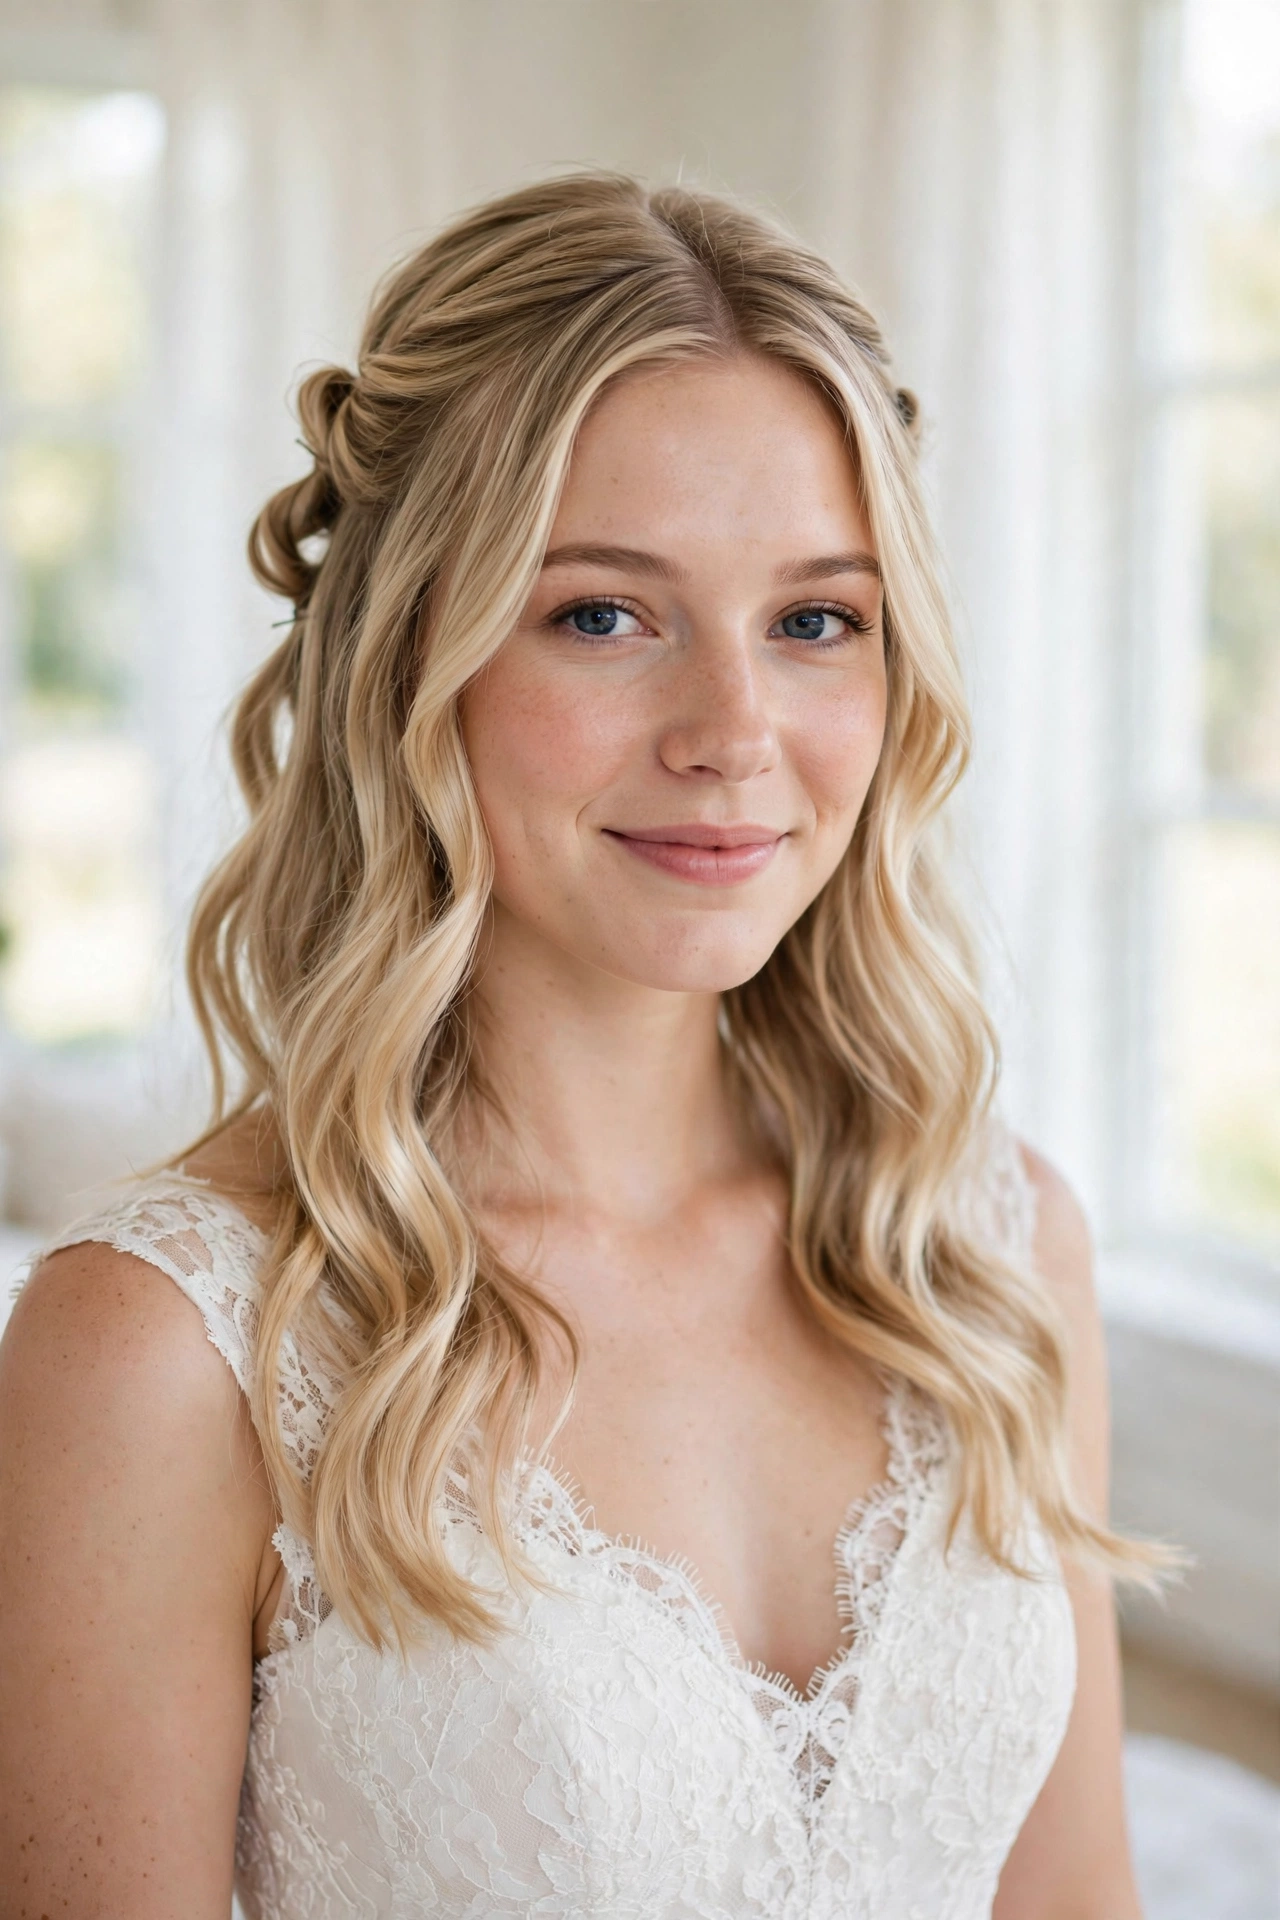
2. The 5-Minute Twisted Half-Up (5 min · Easy)
The fastest real wedding hairstyle on this list. If you only have five minutes, this is the one.
You’ll need: 2 bobby pins, 1 small clear elastic, texturizing spray.
How to do it:
- Take a 2-inch section of hair from above each ear.
- Twist each section away from your face, 3–4 turns.
- Cross the two twists at the back of your head and pin them with an X of bobby pins (or tie with a clear elastic and cover it with one twist).
- Pull the crown hair gently upward for a little volume. Leave the rest of your hair down.
- Mist lightly with hairspray.
Best for: Every face shape, all textures, outdoor and garden weddings, brides who want to look like themselves, only better.
At-home tip: Twist on slightly damp or day-old hair — freshly washed hair will untwist itself within the hour.
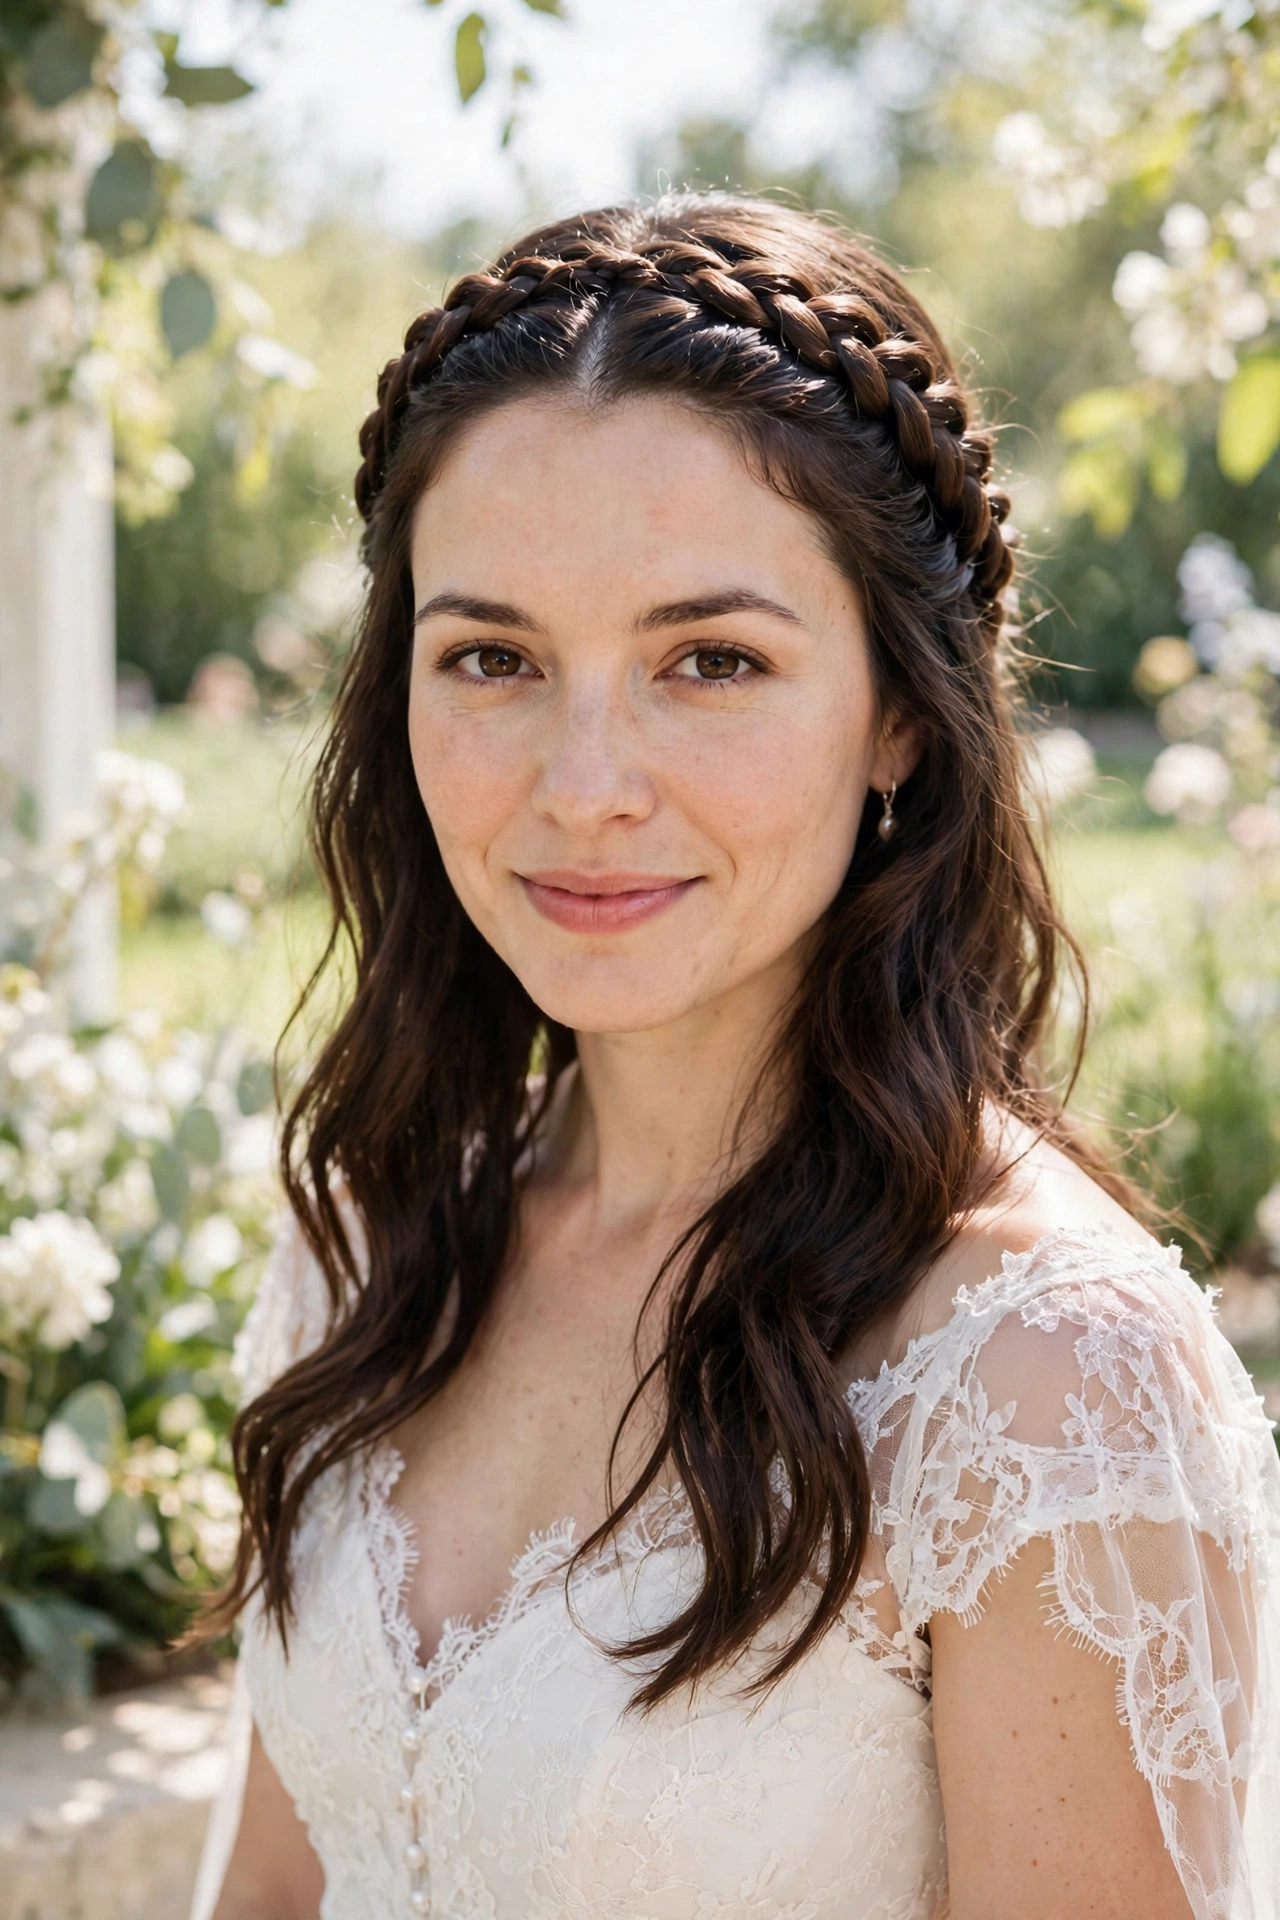
3. French Braid Crown (15 min · Medium)
A braided wedding hairstyle for medium hair at home that looks like it took a stylist an hour. It didn’t.
You’ll need: 2 clear elastics, 6–8 bobby pins, texturizing spray, hairspray.
How to do it:
- Part your hair down the middle.
- Starting above one ear, French-braid along the hairline toward the back of your head, adding small sections as you go. Stop at the nape.
- Repeat on the other side.
- Cross the two braid ends at the back and pin them under each other so the join disappears.
- Gently pull the braid loops outward to make the crown look fuller.
- Leave the remaining hair down in soft waves, or gather it into a low ponytail for a braided updo.
Best for: Round and square faces (the crown height lengthens the face), wavy or thick hair, boho and outdoor weddings.
At-home tip: Braid with your head tilted slightly forward so you can see the braid in the mirror — and practice the braid twice before the wedding day. Muscle memory beats mirror panic.
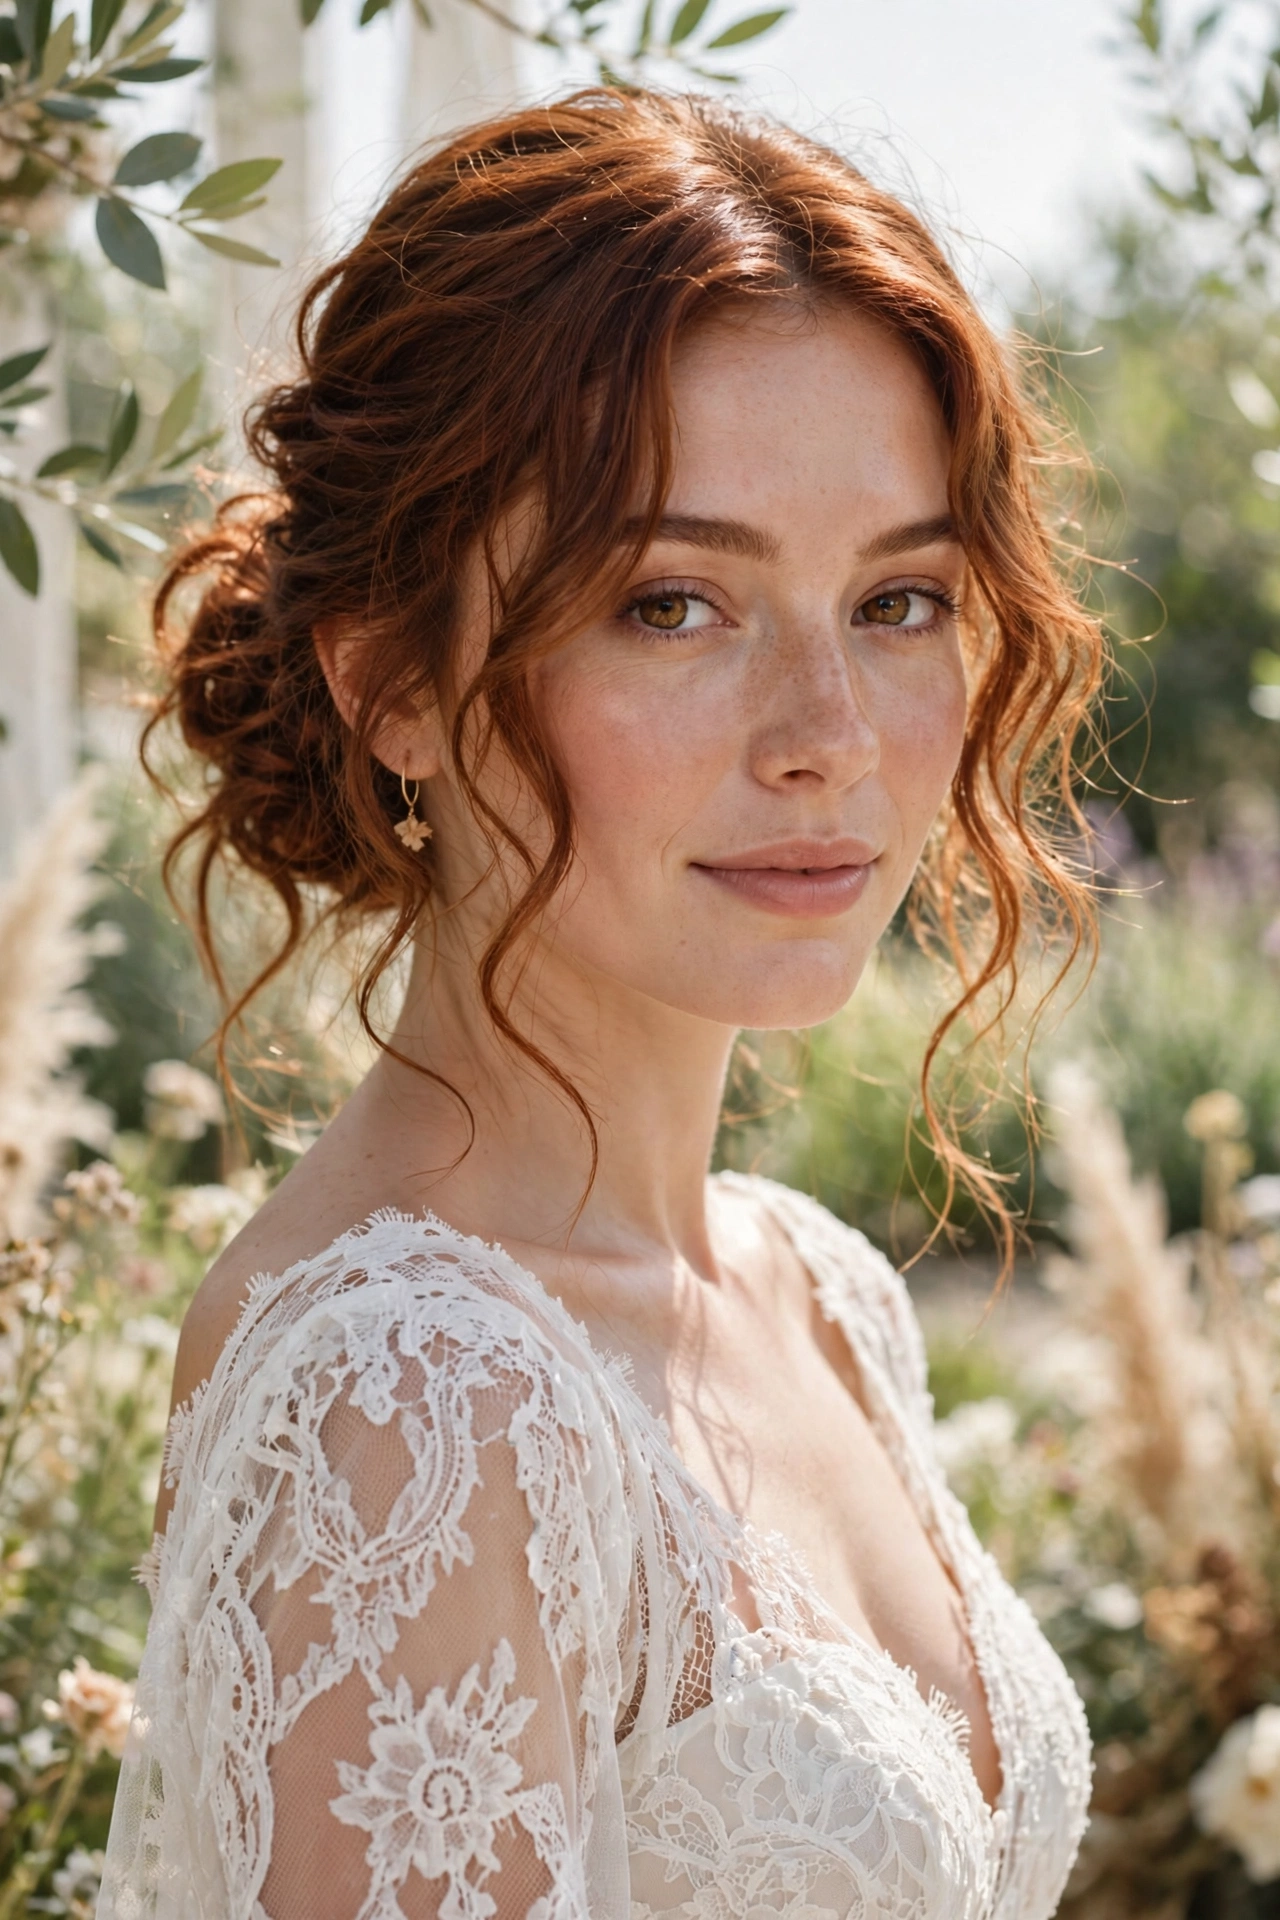
4. Messy Low Bun with Face-Framing Curls (10 min · Easy)
The relaxed, romantic low bun — the one that photographs like an editorial and forgives every mistake.
You’ll need: 1 clear elastic, 8–10 bobby pins, 1-inch curling iron, texturizing spray, hairspray.
How to do it:
- Curl your whole head loosely with a 1-inch iron, alternating curl directions. Let curls cool completely.
- Pull out the front sections that frame your face and set them aside.
- Gather the rest into a low, loose ponytail at the nape. On the last loop of the elastic, pull the hair only halfway through to make a loop bun.
- Fan the loop out with your fingers and pin the loose ends around it, tucking as you go. Imperfection is the point.
- Curl the face-framing pieces and let them fall naturally.
- Mist with flexible-hold hairspray — stiff spray kills the softness.
Best for: Thick hair (this style eats volume happily), square and round faces, rustic and boho weddings.
At-home tip: If the bun looks too neat, pull a few tiny pieces loose at the nape and crown. A messy bun that looks intentionally messy reads as romantic; a too-neat one reads as "I gave up."
5. Twisted Knot Chignon (10 min · Easy)
A low bun with a twist — literally. Two sections knotted together make a bun that stays put without a forest of pins.
You’ll need: 1 clear elastic, 4–6 bobby pins, texturizing spray, hairspray.
How to do it:
- Divide your hair into two equal sections at the back.
- Tie the two sections together in a single loose knot at the nape, like the first step of tying shoelaces.
- Tie a second knot right below the first.
- Tuck the ends under the knots and pin in place.
- Pull a few pieces loose around the face. Mist with hairspray.
Best for: Shoulder-length and collarbone-length hair, straight or wavy textures, minimalist and modern weddings.
At-home tip: This style works best on hair with some grip — if yours is slippery, add texturizing spray and wait 2 minutes before knotting.
6. Half-Up Top Knot (10 min · Easy)
Half up, half down, zero fuss — the half-up top knot keeps hair out of your face while showing off your length.
You’ll need: 1 clear elastic, 3–4 bobby pins, texturizing spray.
How to do it:
- Section off the top half of your hair, from above the ears upward.
- Twist it into a small knot at the crown and secure with an elastic.
- Fan the knot out with your fingers for softness and pin any loose ends.
- Curl the hair left down in loose waves. Pull the crown up gently for volume.
- Finish with a light mist of hairspray.
Best for: Round faces (crown height elongates), wavy and curly hair, casual and outdoor weddings.
At-home tip: Place the knot high on the crown, not at the back of the head — a low top knot just looks like a half ponytail.
7. Waterfall Braid with Loose Curls (20 min · Medium)
The prettiest half-up style for medium hair — and the one guests will ask about.
You’ll need: 1 clear elastic, 4–6 bobby pins, 1-inch curling iron, texturizing spray, hairspray.
How to do it:
- Curl all your hair loosely and let it cool.
- Take a 2-inch section from one temple and start a French braid, but each time you cross a bottom strand, drop it and pick up a new one from below — that is the "waterfall."
- Braid across the back of your head to the other temple and secure with a clear elastic, hiding it under a small section of hair.
- Gently loosen the braid loops. Mist with hairspray.
Best for: Wavy and curly hair, oval and heart faces, garden and beach weddings.
At-home tip: The dropped strands are the magic — keep them even in thickness, or the waterfall looks lopsided. Practice once on a friend if your arms get tired doing it on yourself.
8. Half-Up Twist with Ribbon (10 min · Easy)
A soft half-up twist tied with a ribbon — romantic, simple, and very forgiving on medium hair.
You’ll need: 1 satin or velvet ribbon (about 18 inches), 4 bobby pins, texturizing spray.
How to do it:
- Take a section from each side of your head, above the ears.
- Twist each section away from your face 3–4 times.
- Bring them together at the back and tie with the ribbon in a bow or a simple knot with long ends.
- Pin the twists in place under the ribbon so nothing slips.
- Curl the hair left down softly.
Best for: Every face shape, straight and wavy hair, vintage and romantic weddings.
At-home tip: Velvet ribbon grips hair better than satin and doesn’t slide. If you use satin, pin through the ribbon itself.
9. Garden Party Low Ponytail (10 min · Easy)
A low ponytail dressed up for a wedding — proof that "simple" and "bridal" are not opposites. Great for outdoor and garden weddings.
You’ll need: 1 clear elastic, 3–4 bobby pins, 1-inch curling iron, texturizing spray, hairspray.
How to do it:
- Curl your hair loosely and let it cool.
- Gather into a low ponytail at the nape, slightly to one side.
- Wrap a small section of hair around the elastic and pin underneath to hide it.
- Pull out face-framing pieces and curl them.
- Add a small sprig of baby’s breath or one statement clip above the elastic.
Best for: Oval and long faces, all textures, outdoor/garden weddings, second-look or reception hair.
At-home tip: A side placement (just off-center) photographs better than dead-center and flatters rounder faces.
10. Fresh Flower Half-Up (15 min · Easy)
Flowers tucked into a half-up twist — the easiest way to make medium hair look like a wedding.
You’ll need: 4–6 bobby pins, 1 clear elastic, small fresh flowers (baby’s breath, spray roses, or wax flowers), texturizing spray.
How to do it:
- Do the twisted half-up from Style 2 (twist both sides, cross, pin).
- Curl the hair left down in loose waves.
- Cut flower stems to about 1 inch. Slide each flower into the twists, pinning the stem flat against your head with a bobby pin crossed over it.
- Place flowers in an uneven cluster on one side — odd numbers look more natural.
- Mist lightly. Carry 2 spare flowers for touch-ups.
Best for: Wavy and curly hair, boho and garden weddings, brides skipping a veil.
At-home tip: Keep fresh flowers in the fridge until the last minute, and mist them lightly with water before pinning — wilted flowers at 2 p.m. are the classic DIY mistake. Ask your florist for wired stems; they pin in much more securely.
11. The 5-Minute Sleek Low Bun (5 min · Easy)
For brides who want clean, modern, and fast. Five minutes, a mirror, and done.
You’ll need: 1 clear elastic, 4–6 bobby pins, smoothing serum or gel, fine-tooth comb, strong-hold hairspray.
How to do it:
- Smooth a pea-sized amount of serum through your hair. Comb it straight back — no part, or a sharp middle part.
- Gather into a tight low ponytail at the nape.
- Twist the ponytail and coil it flat against your head. Pin around the edges.
- Spray generously and smooth flyaways with the comb.
Best for: Straight hair, oval and heart faces, modern and city weddings, high-neck and minimalist dresses.
At-home tip: Do this one on freshly washed, blow-dried hair — sleek styles need smoothness more than grip. Keep a mini hairspray in your clutch for flyaways.
12. Curtain-Fringe Soft Waves (15 min · Easy)
If you have bangs or a curtain fringe, this is your style — waves that show off the fringe instead of fighting it.
You’ll need: 1-inch curling iron or wand, texturizing spray, 2 bobby pins, light-hold hairspray.
How to do it:
- Part your hair in the middle so the fringe falls on both sides of your face.
- Curl the fringe pieces away from your face, holding the iron vertically.
- Curl the rest of your hair in large sections, away from the face.
- Once cool, run your fingers through to break up the curls into soft waves.
- Tuck one side behind your ear and pin with a decorative clip. Leave the other side loose.
Best for: Brides with bangs or curtain fringe, round and square faces (the fringe narrows the forehead), romantic and vintage weddings.
At-home tip: Curl the fringe first while the iron is hottest and your arms are freshest — it is the part everyone sees, and it sets the whole look.
13. Shoulder-Length Lob Waves (15 min · Easy)
The lob (long bob) is the most common medium length — and loose waves are its best wedding look.
You’ll need: 1.25-inch curling iron, heat protectant, texturizing spray, flexible-hold hairspray.
How to do it:
- Apply heat protectant. Divide hair into 4 sections.
- Curl each section away from your face, leaving the last inch of each strand straight — that straight end is what makes it look modern, not pageant.
- Let curls cool fully, then shake them out with your fingers.
- Add a deep side part for drama, or a middle part for softness.
- Mist with flexible-hold spray so the waves can move.
Best for: Shoulder-length hair (lob), straight and wavy textures, every face shape, every venue.
At-home tip: Leaving the ends straight also stops the style from shrinking your length — important on a lob, where every inch counts.
14. Defined Curls for Medium Curly Hair (20 min · Medium)
Work with your curls, not against them. This routine gives definition that lasts all day without a flat iron in sight.
You’ll need: Curl-defining cream or gel, diffuser attachment, 4–6 bobby pins, light-hold hairspray.
How to do it:
- Start with damp hair (wash morning-of for this style — curls need the moisture).
- Scrunch curl cream through section by section, from ends upward.
- Diffuse on low heat, scrunching upward, until 90% dry. Let the last 10% air-dry.
- Pick one side: pin a small section back at the temple with 2 crossed bobby pins to show your face.
- Add a decorative comb or clip on the pinned side. Do not touch the curls after this — hands create frizz.
Best for: Naturally curly and coily hair, round and heart faces, any venue.
At-home tip: Do not brush or comb curly hair once it is dry. If a curl misbehaves, re-wet that one curl, add a dot of cream, and re-scrunch it.
15. Sleek Low Ponytail with Wrapped Base (10 min · Easy)
The chicest simple wedding hairstyle for medium straight hair at home — and it holds a veil perfectly.
You’ll need: 1 clear elastic, 3–4 bobby pins, smoothing serum, flat iron, strong-hold hairspray.
How to do it:
- Flat-iron your hair smooth, working in small sections.
- Smooth serum through the lengths. Comb into a low ponytail at the nape.
- Take a 1-inch section from under the ponytail, wrap it around the elastic several times, and pin underneath.
- Pull the ponytail gently at the crown for a tiny bit of volume.
- Mist with strong-hold spray.
Best for: Medium straight hair, oval and long faces, modern and minimalist weddings, brides wearing a veil (the low base is the ideal veil anchor — see the veil section below).
At-home tip: Iron the ponytail itself after securing it — it is much easier to get glass-smooth when the hair is already gathered.
16. Volume-Boosted Chignon for Fine / Thin Hair (20 min · Medium)
Medium hair that is fine or thin can still wear a full chignon — it just needs a volume trick first.
You’ll need: 1 small hair donut or volumizing insert, 2 clear elastics, 8–10 bobby pins, volumizing mousse, texturizing spray, hairspray.
How to do it:
- Apply volumizing mousse to damp roots, then blow-dry upside down for lift.
- Tease (backcomb) the crown section gently with a tail comb — 3–4 strokes per section.
- Gather into a low ponytail. Thread the ponytail through a small hair donut, then spread the hair over the donut to cover it.
- Pin the spread hair around the donut, tucking ends underneath.
- Pull out face-framing pieces and curl them. Mist with hairspray.
Best for: Medium thin / fine hair, round and square faces (the volume balances proportions), all venues.
At-home tip: A donut one shade lighter than your hair disappears better than an exact match. And tease only the under-layers — the smooth top layer hides the teasing completely.
Choosing Guide: Pick Your Style in 60 Seconds
By length:
- Chin-length bob: Styles 2, 8, 11, 12, 13 (half-up, twists, sleek, waves). Skip Styles 3 and 5 — they need more length.
- Shoulder-length / lob: All 16 styles work. This is the easiest length for DIY wedding hair.
- Collarbone-length: All 16 styles work, and updos (1, 4, 5, 16) look fullest at this length.
By texture:
- Straight: Styles 1, 11, 15 (sleek and smooth show off straight hair best). Add texturizing spray for grip.
- Wavy: Styles 4, 6, 9, 13 — waves do half the work for you.
- Curly: Style 14 first; also 6, 7, 10. Don’t fight your curl pattern on wedding day.
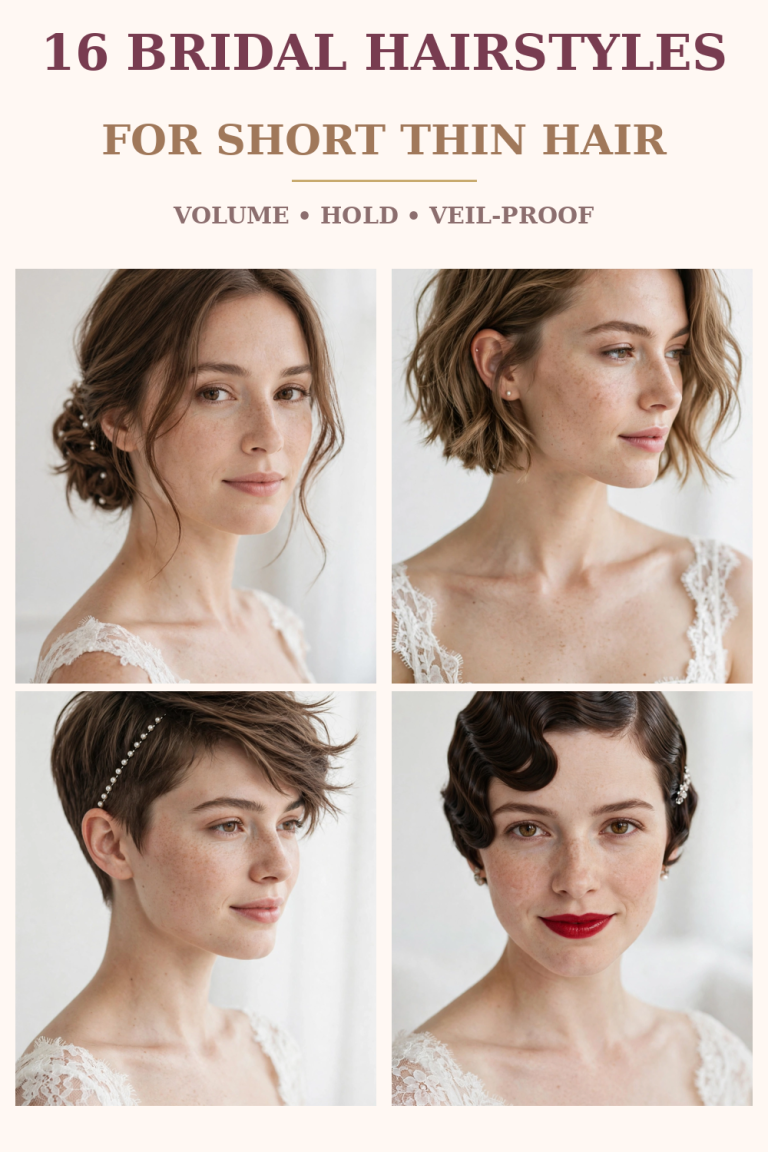
- Fine / thin: Style 16, plus 1 and 5 with texturizing spray and a donut. See the fuller-hair FAQ below.
- Thick: Styles 4, 7, 10 — thick hair holds braids and twists beautifully. Use extra pins; thick hair is heavy.
By face shape:
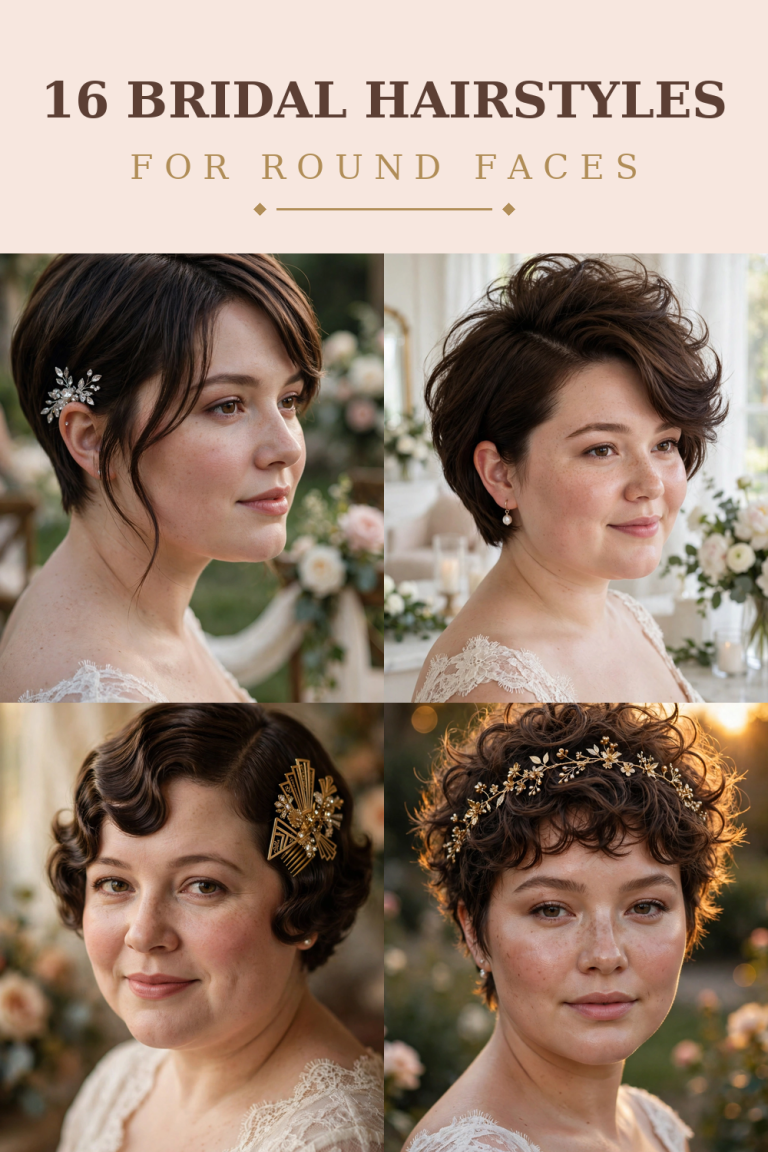
- Round face: Styles 3, 6, 9, 12 — height at the crown and face-framing pieces lengthen the face. Avoid slicked-back styles with no front pieces.
- Oval face: Everything works. Oval faces can wear any of the 16.
- Square face: Styles 4, 10, 12, 16 — soft waves and face-framing pieces soften the jawline.
- Heart face: Styles 1, 2, 13 — volume at the lower half of the hair balances a wider forehead.
- Long face: Styles 8, 11, 15 — low, wide styles (side placement, low buns) keep the face from looking longer.
By venue:
- Outdoor / garden wedding: Styles 2, 6, 9, 10 — pinned and half-up styles survive wind. Avoid loose waves on a windy day unless you love fixing them.
- Church / formal: Styles 1, 5, 15, 16 — structured updos and sleek styles.
- Beach: Styles 2, 6, 8 — twisted and knotted styles grip best in humidity. (See our beach wedding hairstyles guide for the full beach-proofing system.)
- City / modern: Styles 11, 13, 15 — sleek and polished.
By dress neckline:
- Strapless / sweetheart: Updos (1, 4, 5) show off the neckline.
- High neck / halter: Hair down or half-up (2, 6, 13) balances the coverage.
- Backless: A low bun or side ponytail (1, 9) shows off the back.
Veil on Medium Hair: How to Anchor It So It Stays
Yes — you can absolutely wear a veil with medium-length hair. The secret is anchoring it into a style with a solid base, not into loose hair.
Best styles for a veil: Styles 1 (low chignon), 5 (twisted knot), 15 (sleek low ponytail), and 16 (donut chignon). All four give the veil comb something to grip.
How to anchor it:
- Style your hair first, veil last.
- Slide the veil comb into the hair just above the bun or ponytail base, teeth pointing downward, and push it in at a slight upward angle so it locks under the base.
- Add 2 bobby pins in an X across the comb for insurance.
- Test by gently tugging the veil and shaking your head. If it moves, add one more pin.
Removing it without wrecking the style: pull the comb straight up and out, never sideways. Carry 2 spare pins to re-secure the bun afterward.
Which veil length works: Birdcage and shoulder-length veils suit every medium style. Fingertip veils pair best with low buns (1, 5, 16). Cathedral veils work too — anchor them the same way, and have someone carry the train.
Make It Last All Day: The Hold System
- Pin in X patterns. Two bobby pins crossed over each other grip about three times better than two parallel pins.
- Hide pins under hair, not on top. Slide each pin into the hair with the wavy side down (against the scalp) — the wavy side grips, the flat side hides.
- Spray in layers. A light mist after curling, another after pinning, a final one after accessories. Three light layers outlast one heavy soaking.
- Humidity plan: If the forecast is humid, use an anti-humidity spray before styling and choose a pinned style (2, 5, 8, 11) over loose waves.
- Touch-up kit: Pack 6 bobby pins, 2 clear elastics, a travel hairspray, blotting papers, and lipstick. That is all you need — anything more and you will fuss with your hair all day.
- The 2 p.m. check: After photos, step into the bathroom, check the back with your hand mirror, re-pin anything loose, and re-spray. Two minutes, then forget about your hair.
7 Mistakes That Ruin DIY Wedding Hair (and How to Avoid Them)
- Washing the morning of. Clean hair is slippery hair. Wash the night before unless your style needs damp hair (Style 14).
- Skipping the trial run. Every style feels different on your own head than it looks in a photo. One trial run removes 90% of wedding-day stress.
- Using too few pins. If you think you have enough pins, add two more. Medium hair is heavier than it looks.
- Spraying before pinning. Hairspray makes hair slippery. Pin first, spray after.
- Trying a brand-new style on the wedding day. Your wedding day is not the day to learn a waterfall braid. If you haven’t done it twice before, pick a simpler style.
- Forgetting the back view. Guests and photographers see the back of your hair all day. Check it with a hand mirror during your trial.
- Over-touching it. Once it is done, stop touching it. Every touch loosens pins and adds frizz.
Budget vs Premium: The At-Home Kit
You do not need expensive tools — but a couple of upgrades genuinely help.
| Item | Budget (under $15 each) | Premium (worth it) |
|---|---|---|
| Curling iron | 1-inch drugstore iron (~$12) | 1-inch + 1.25-inch set with adjustable heat (~$60–$90) |
| Hairspray | Flexible-hold drugstore spray (~$6) | Flexible + strong-hold pair, e.g. a pro brand (~$15 each) |
| Bobby pins | Any 50-pack (~$3) | Matte, hair-color-matched pins that disappear (~$8) |
| Texturizing spray | Dry shampoo doubles as grip (~$6) | Dedicated texturizing spray (~$20) |
| Volume helper | Teasing comb (~$4) | Hair donut + volumizing mousse (~$15 total) |
| Veil | Simple tulle veil, Amazon/Etsy (~$20–$35) | Salon veil with finished edge (~$80–$150) |
Total budget kit: roughly $40–$60. Total premium kit: roughly $150–$250. Both produce the same 16 styles — the premium tools mostly save time and add a little polish.
Bridesmaids & Wedding Guests: These Styles Work for You Too
If you are a bridesmaid or a wedding guest with medium hair, every style here works — just dial it down one notch so the bride stays the star. Bridesmaids: pick one style and have the whole party wear a variation of it (same half-up twist, different accessories) for a coordinated-but-not-identical look — see our guide to easy wedding hair for bridesmaids with short hair for the coordination playbook. Wedding guests: Styles 2, 6, 9, and 13 are guest-perfect — pretty, fast, and not bridal enough to confuse anyone.
Pro Tips
- The second-day rule: The second time you do any of these styles, it takes half as long. Always do at least two trial runs.
- Photograph the trial in daylight, front, side, and back. Phone flash lies; daylight tells the truth.
- Match your hair color to your pins and elastics. Clear elastics and pins in your hair color disappear; black pins on blonde hair do not.
- If a style fails at 9 a.m., downgrade, don’t panic. A failed waterfall braid becomes a twisted half-up in two minutes. Have a "Plan B" style picked in advance — Style 2 is the universal Plan B.
- When to call a stylist instead: If you want an intricate braided updo you have never done, if your hair is freshly cut and unfamiliar, or if the thought of doing your own hair is adding stress rather than saving it. There is no prize for DIY — the goal is feeling calm and beautiful.
Frequently Asked Questions
Can I do my own wedding hair?
Yes — if you pick a style at your skill level and practice it at least twice before the day. Styles rated Easy in this guide (1, 2, 4, 5, 6, 8, 9, 10, 11, 12, 13, 15) are genuinely doable by beginners who can braid or twist their own hair. Save Medium styles (3, 7, 14, 16) for after a few practice runs. If a style still fights you after three tries, either simplify it or book a stylist — a calm bride with a simpler style always looks better than a stressed bride with a complicated one.
What is the easiest hairstyle for medium length hair?
The 5-minute twisted half-up (Style 2): two twists, two pins, done. Runners-up: the sleek low bun (Style 11) and the twisted half-up with ribbon (Style 8). All three take under 10 minutes and need no braiding skill.
Should I wash my hair the day before my wedding or the morning of?
The day before, for almost every style. Day-old hair has natural texture and grip that helps pins hold and curls last. The exception is Style 14 (defined curls for curly hair), which needs damp, freshly washed hair. If your scalp gets oily quickly, wash the night before and use dry shampoo at the roots on the morning.
How do I keep my wedding hairstyle in place all day?
Pin in X patterns, spray in three light layers (after curling, after pinning, after accessories), choose a pinned style over loose waves on humid or windy days, and do one 2-minute touch-up after photos. Pack 6 spare bobby pins and a travel hairspray — that covers every realistic emergency.
Can I wear a veil with medium-length hair?
Absolutely. Anchor the veil comb into a style with a solid base — a low chignon (Style 1), twisted knot (Style 5), sleek low ponytail (Style 15), or donut chignon (Style 16) — and add two crossed bobby pins over the comb. Birdcage and shoulder-length veils work with any medium style; fingertip veils pair best with low buns.
How can I make my medium hair look fuller / thicker for the wedding?
Four tricks: (1) blow-dry upside down with volumizing mousse at the roots; (2) gently backcomb the crown under-layers and cover with a smooth top layer; (3) use a hair donut or volumizing insert inside buns (Style 16); (4) "pancake" braids and twists by pulling the loops outward after pinning. Clip-in extensions are also an option — a single halo weft adds fullness in two minutes and hides completely under medium hair.
What hairstyle is best for shoulder-length hair?
Shoulder-length hair (a lob) can wear all 16 styles, but the standouts are lob waves (Style 13), the messy low bun (Style 4), and the French braid crown (Style 3). If your lob is on the shorter side, favor half-up styles (2, 6, 8) — they need the least length and never look skimpy.
The Bottom Line
Medium hair is the easiest length in the world to do yourself on your wedding day — you just need real steps instead of style names. Pick one style from this guide, do two trial runs, lay out your kit the night before, and give yourself the style’s time plus 15 minutes on the morning. That is the whole secret. Your hair will look like you hired someone — and you will have the much better story.
Related reading: 16 Wedding Hairstyles for Round Faces with Short Hair (2026) · 14 Wedding Hairstyles for Short Hair with a Headband (2026) · 16 Beach Wedding Hairstyles for Short Hair (2026) · 15 Easy Wedding Hair Ideas for Bridesmaids with Short Hair (2026)