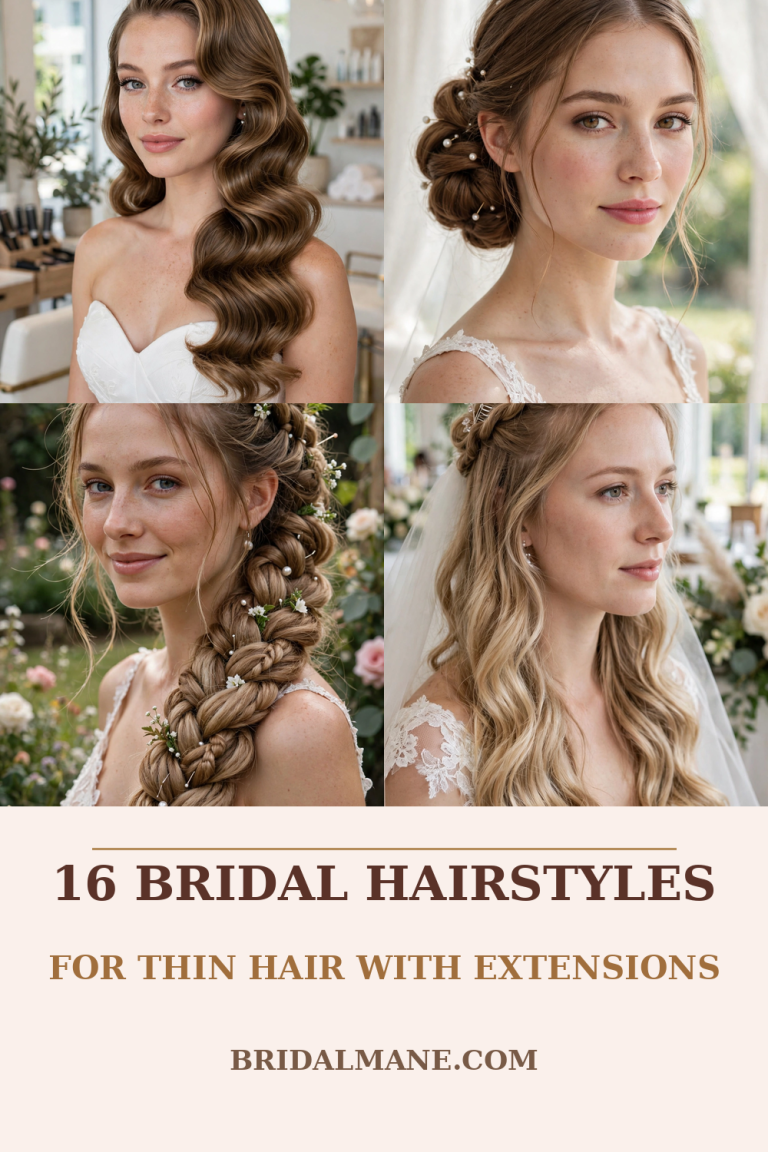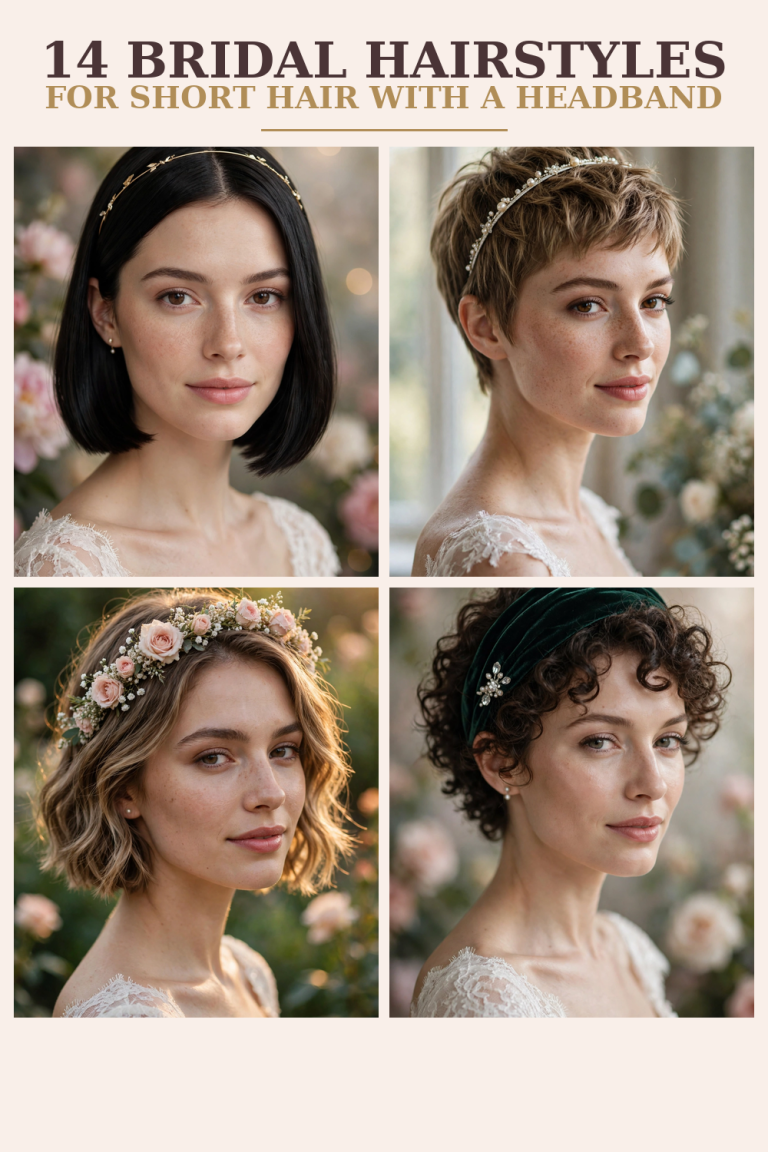
16 Wedding Hairstyles for Short Thin Hair (2026)
Short thin hair is not a wedding-day problem. It is a planning problem. With the right prep, the right pins, and styles chosen for density instead of length, short thin hair can look full, polished, and completely secure from the first photo to the last dance.
This guide gives you 16 wedding hairstyles for short thin hair that actually look full, with step-by-step how-tos, veil anchors, scalp-coverage tricks, and styles to avoid. No extensions required.
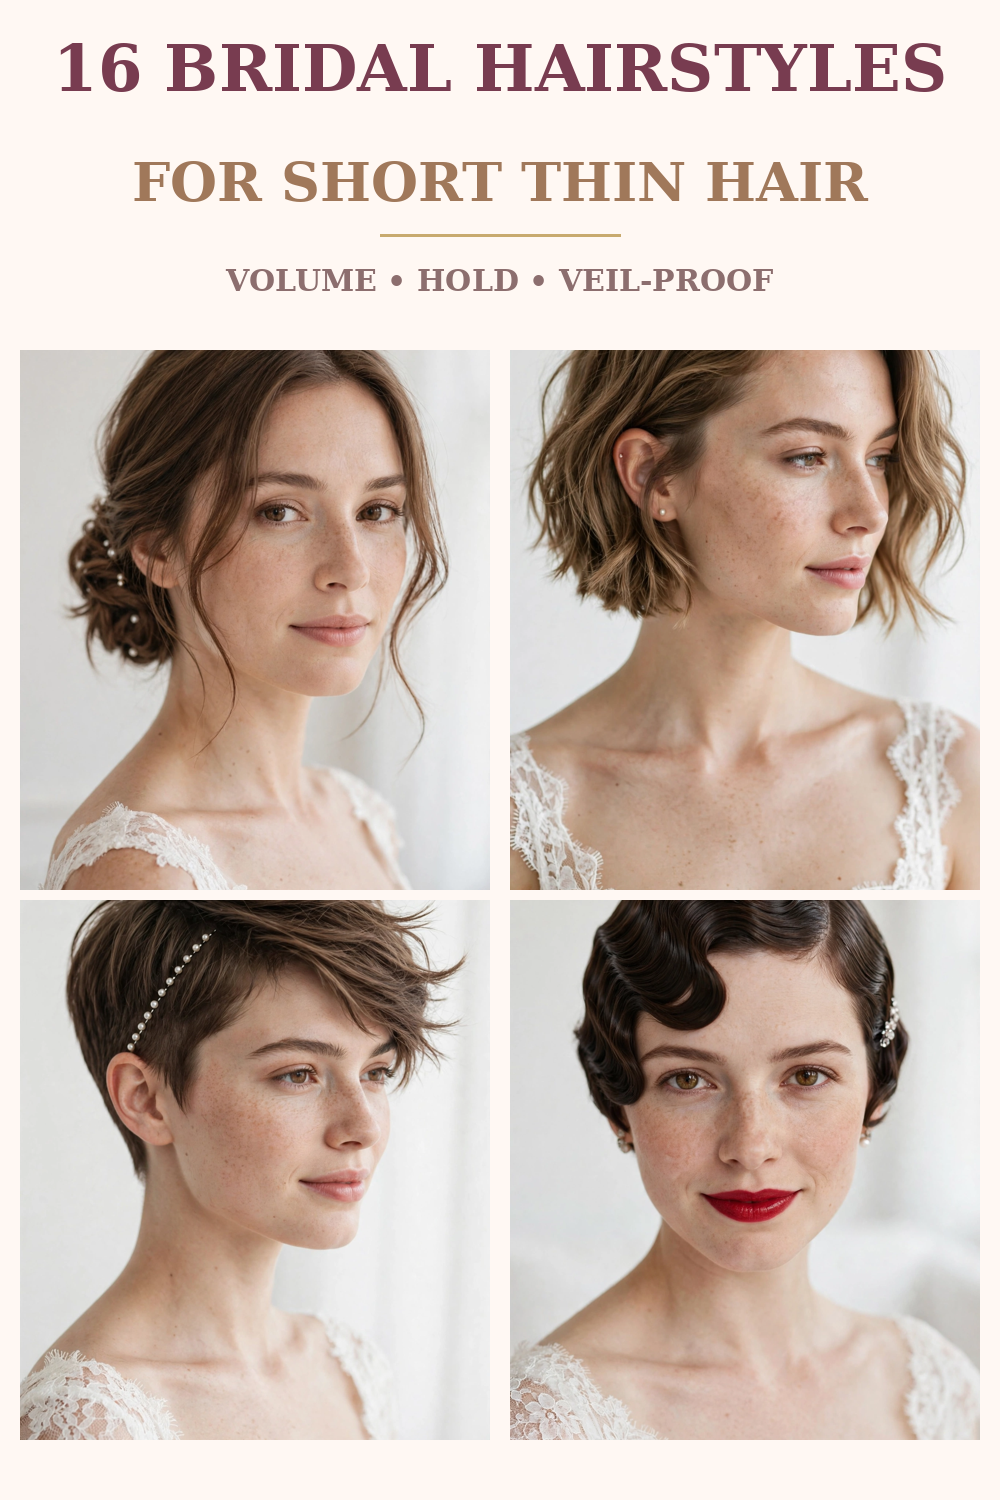
Quick note on terms: fine hair means each strand is thin. Thin hair means you have fewer strands, or low density. You can have fine hair, thin hair, or both, and every style below is written for low density first, so nothing depends on having a lot of hair.
Quick Tutorial
Watch the 30-second version above: prep, tease, pin, spray. The full step-by-step for every style is below.
Before You Start: Scalp-Coverage Tricks That Make Thin Hair Look Full
These tricks work for every style in this guide. Do them first, and the style itself becomes easy.
- Tease the roots. Lightly backcomb the roots at the crown and at every pin point. Teasing is the grip and the volume; spray alone is not.
- Use root powder on the part line. A little powder or eyeshadow matched to your hair color on a visible part or thinning crown removes the see-through look in photos.
- Keep a deep top layer. Leave enough of your own hair loose over every pin, comb, and veil anchor to act as a veil. If you can see scalp through your top layer, you need more coverage there, not more hair underneath.
- Work on second-day hair. Freshly washed hair is slippery. Day-old hair, or dry shampoo at the roots, holds pins and texture far better.
- Check in daylight. Bathroom light lies. Check the back, sides, and crown in natural light, and have someone else check the back.
The 16 Styles
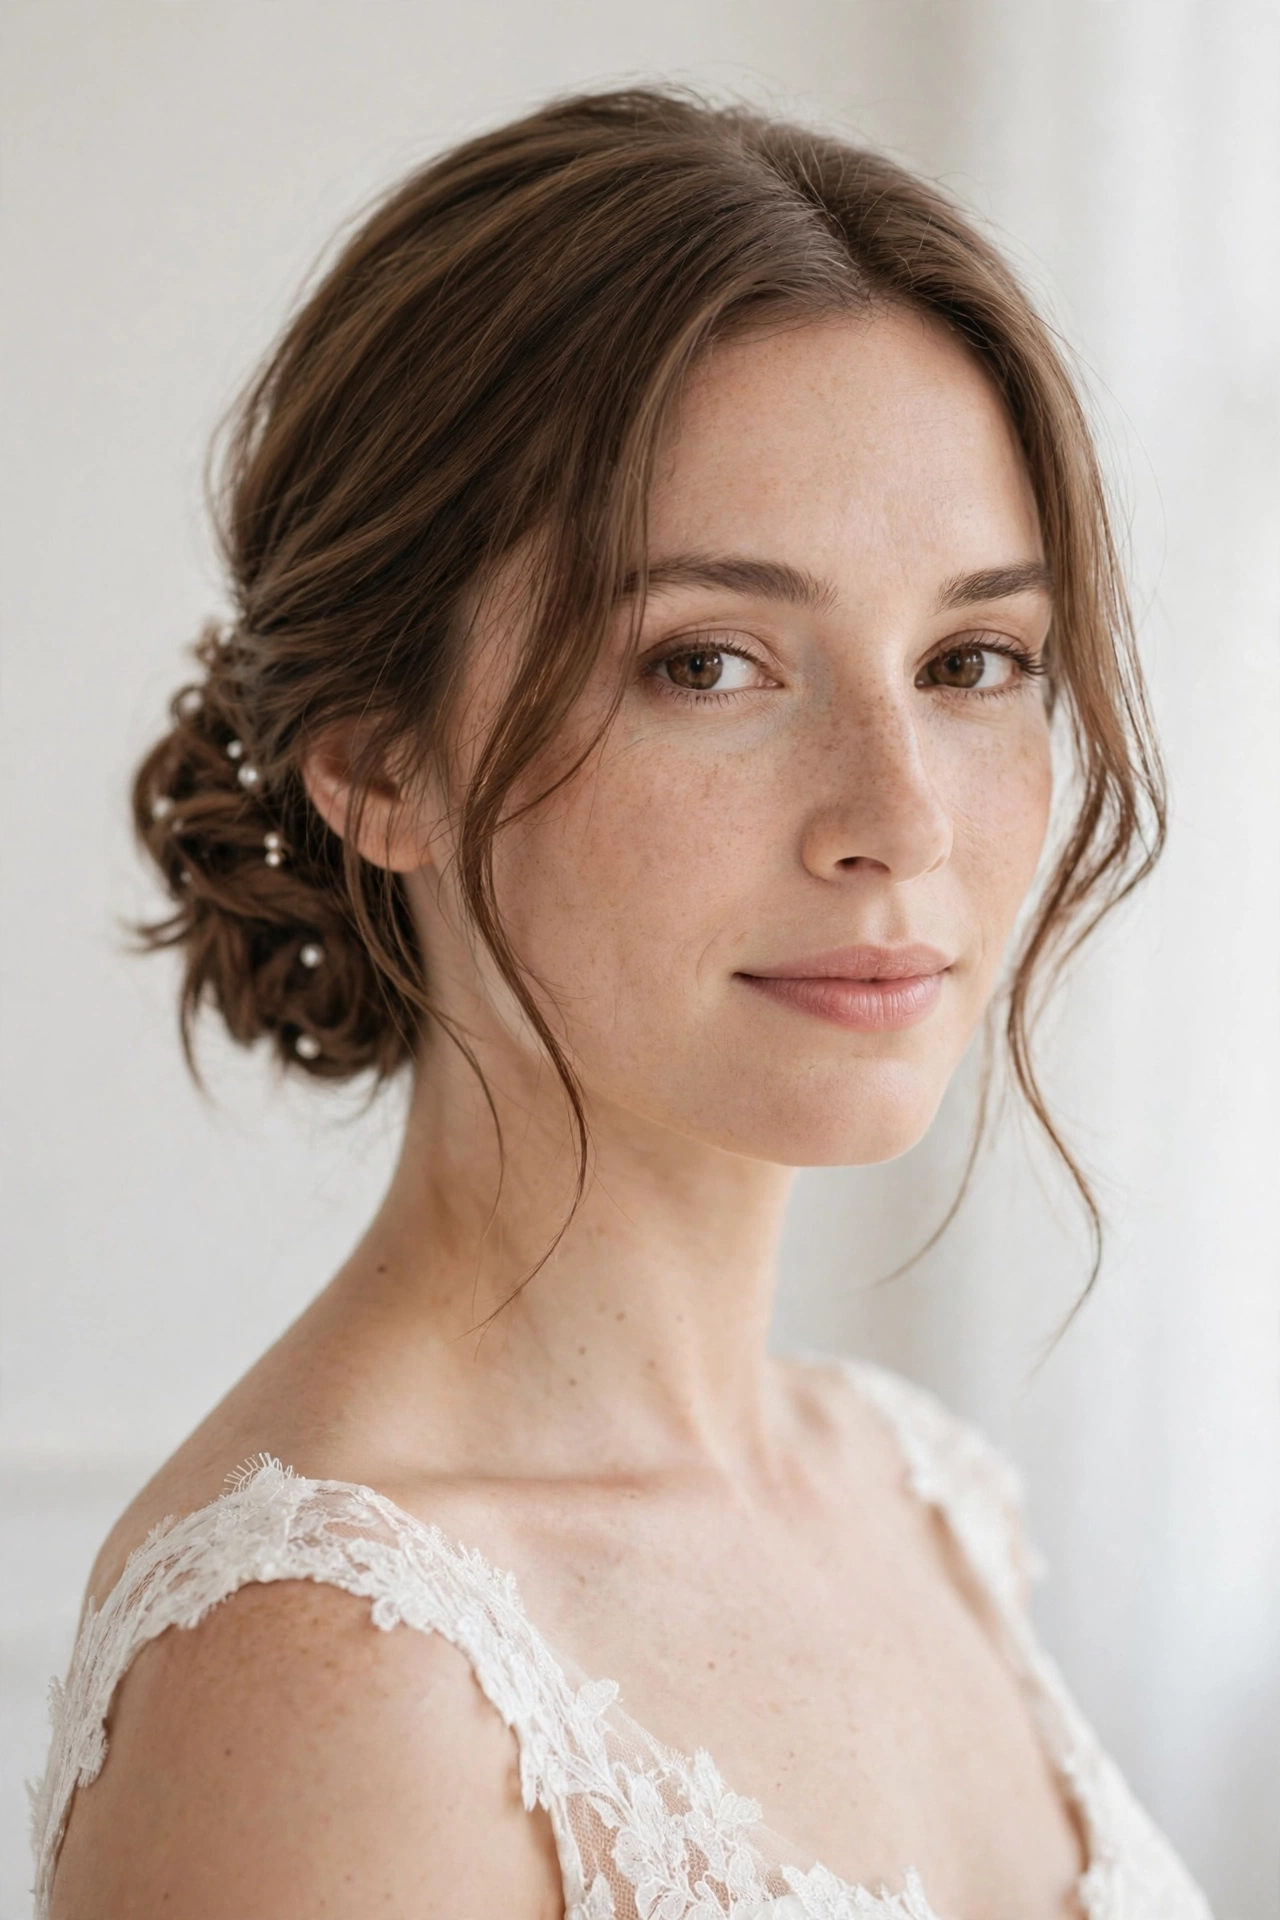
1. Textured Low Chignon
Time: 20 min | Difficulty: Medium | Best for: Elegant or church weddings, backless dresses
A low chignon concentrates everything you have into one polished shape. Texture and a little looseness keep it from looking flat.
How to:
- Tease the crown lightly and smooth the top layer over it.
- Gather into a low ponytail at the nape, leaving face-framing strands out.
- Divide the ponytail in two, twist each section loosely, and wrap in opposite directions around the base.
- Pin every inch with U-pins, tucking ends underneath.
- Pull out 2-3 face-framing strands and soften them with an iron.
- Scatter small pearl pins across the bun; pins also camouflage any gaps.
You will need: U-pins, pearl pins, light spray, teasing comb.
Veil note: A veil comb slides into the hair just above the chignon, never on it.
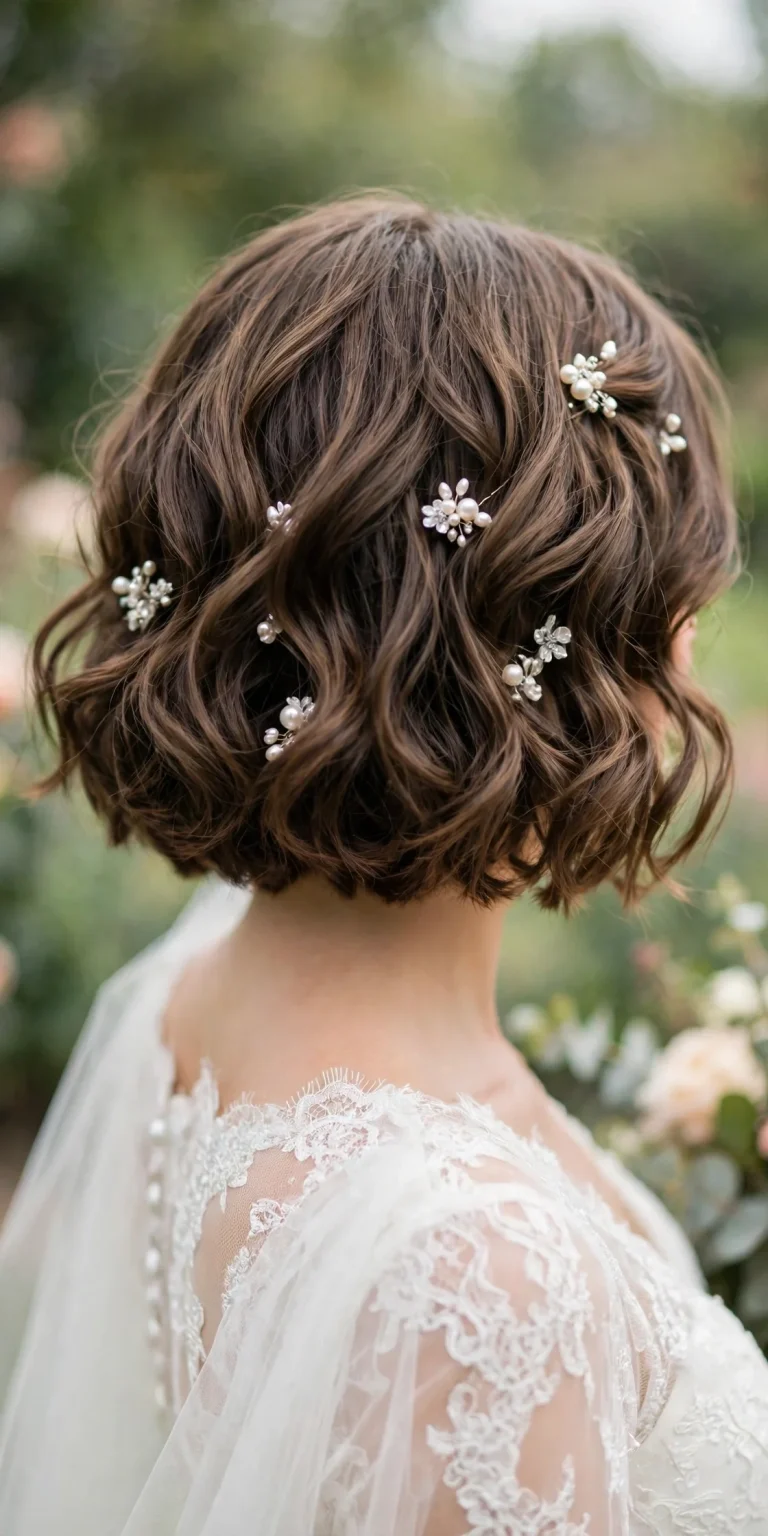
2. Tousled Bob Waves
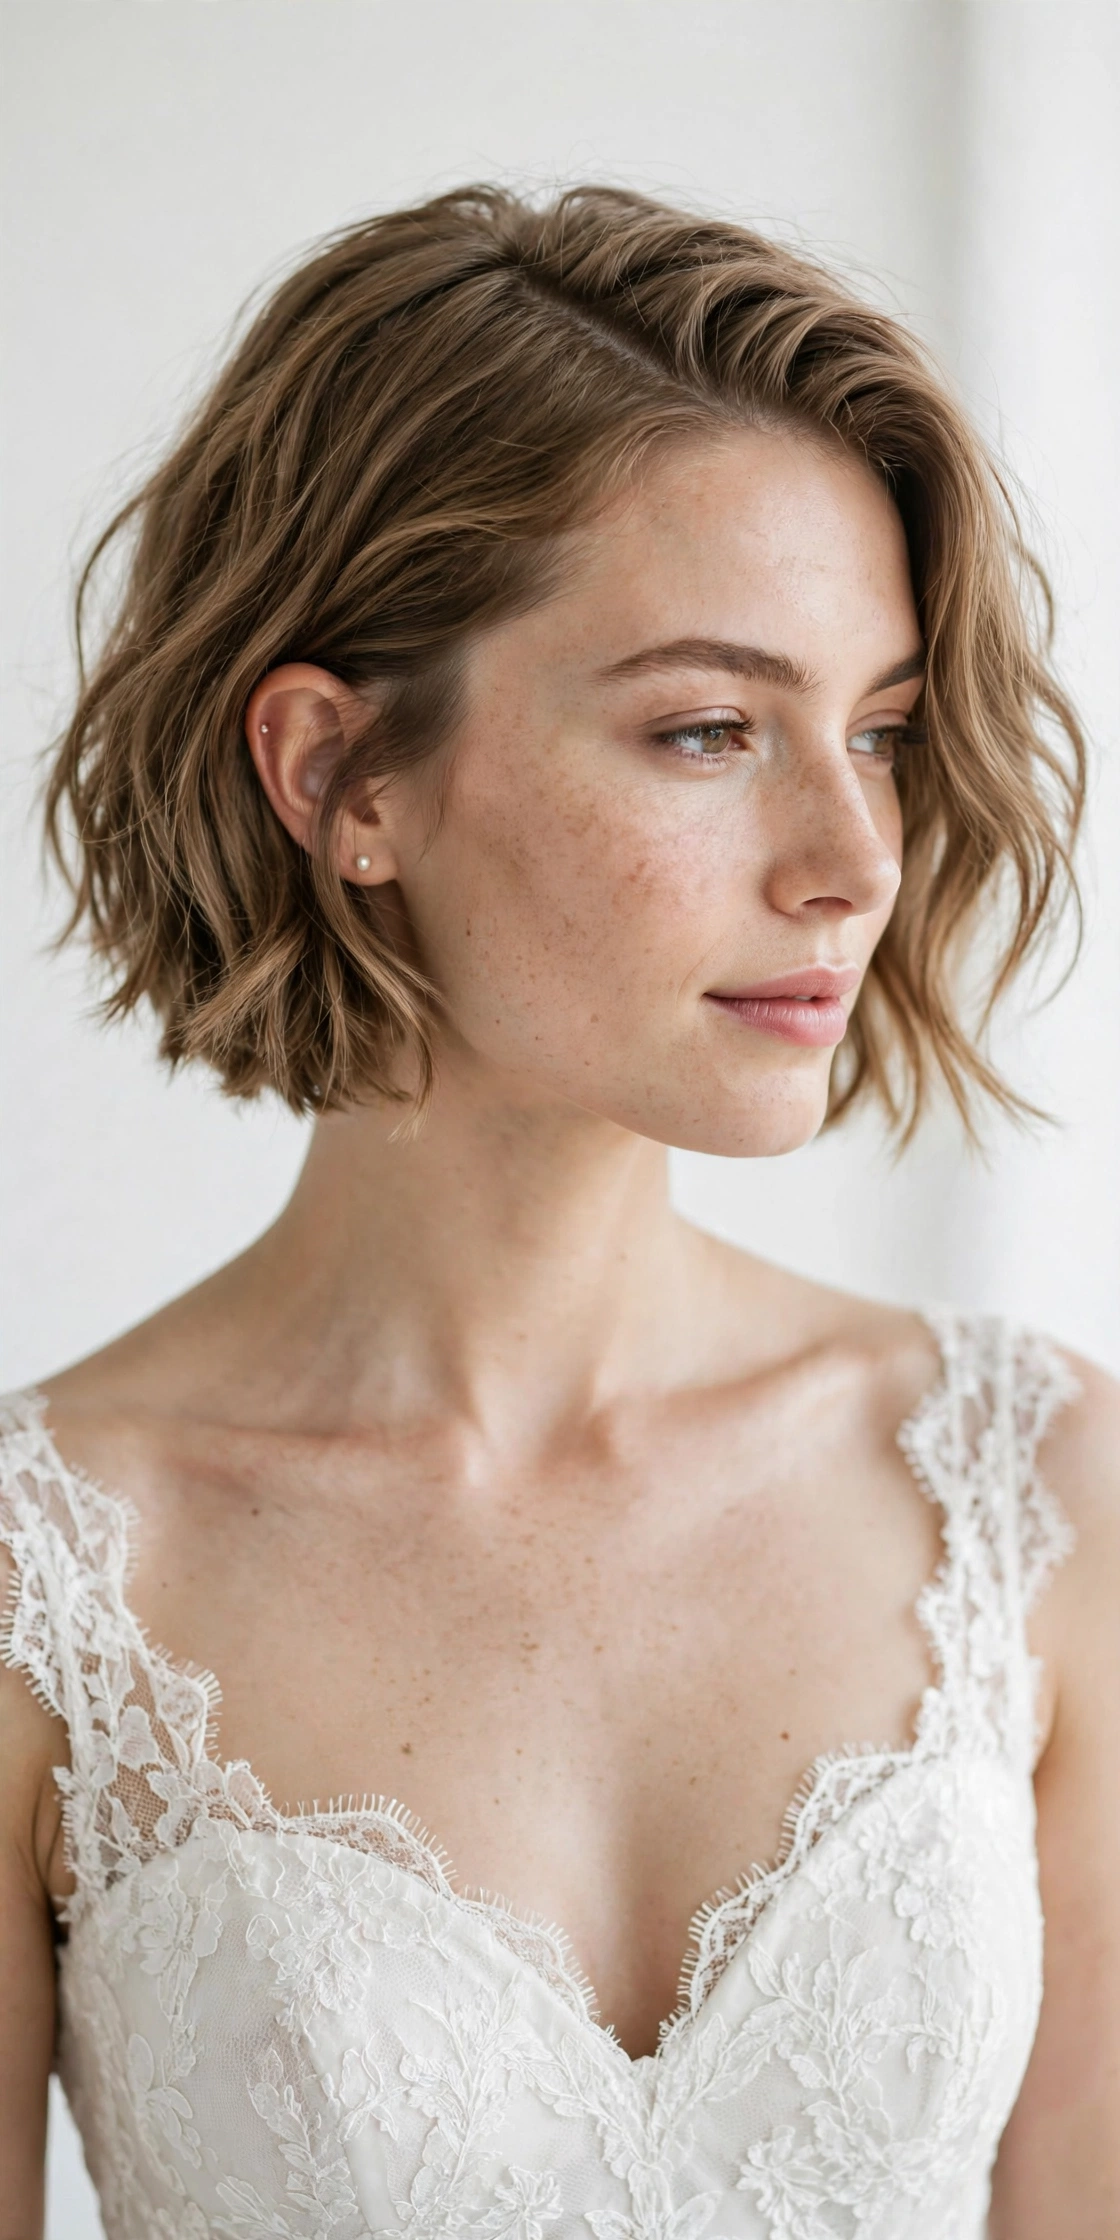
Time: 20 min | Difficulty: Easy | Best for: Relaxed, garden, or beach weddings
Waves are thin hair’s best friend: every curve adds the illusion of density. Keep the waves loose and uneven for the fullest look.
How to:
- Apply heat protectant and texture spray to dry hair.
- Curl 1-inch sections away from the face, alternating directions, and let every curl cool completely.
- Break up the curls with your fingers, not a brush.
- Backcomb the roots at the crown lightly for height.
- Finish with flexible-hold spray, not maximum hold; stiff spray makes fine hair look thinner.
You will need: Curling iron, texture spray, flexible-hold spray.
Veil note: Anchor a veil with two crossed bobby pins through a small section at the crown.
3. Pinned Pixie with Pearl Pins
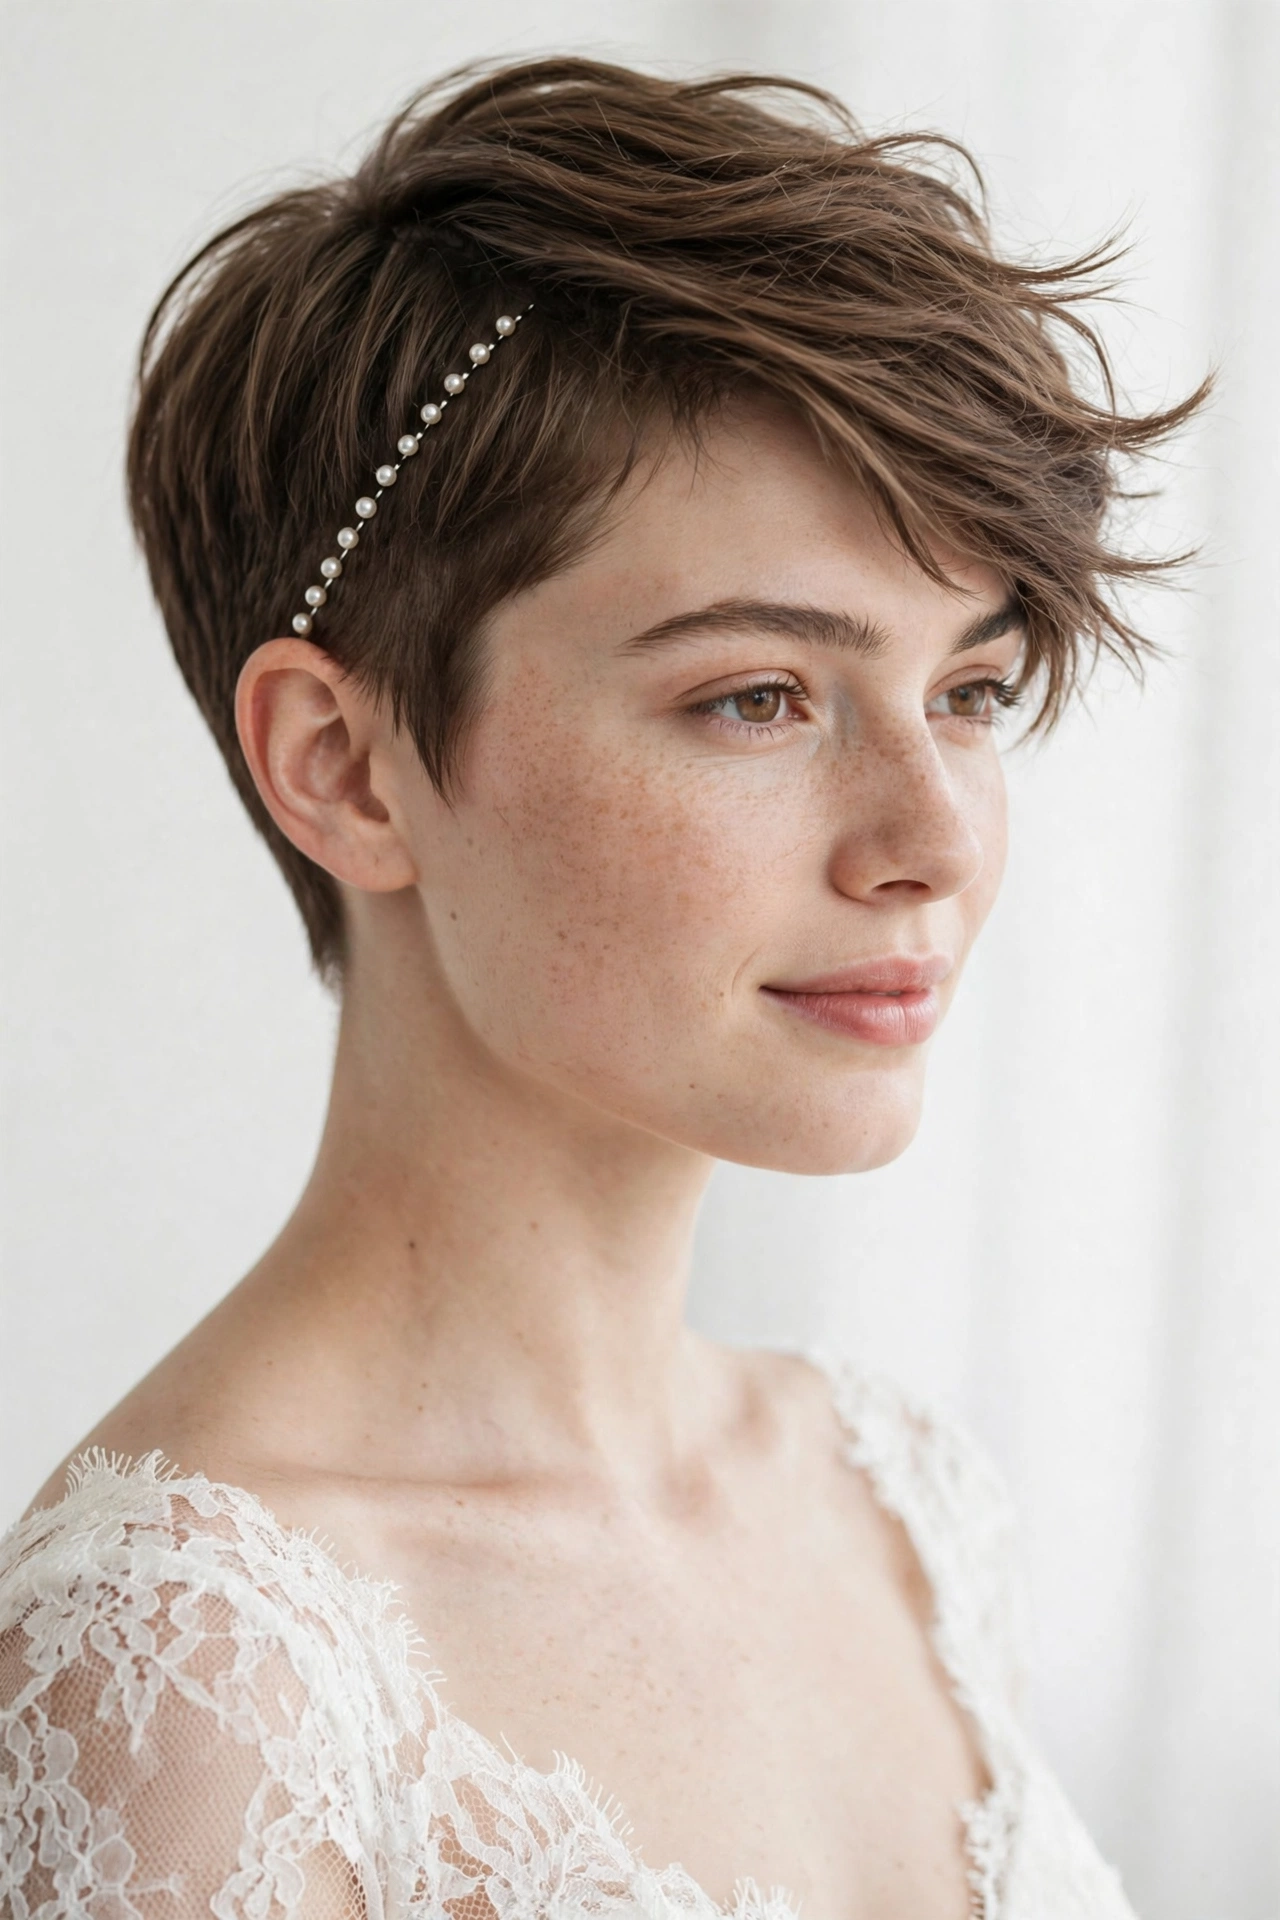
Time: 15 min | Difficulty: Easy | Best for: Minimalist brides, statement earrings
Pearl pins do double duty on a pixie: they hold hair in place and add sparkle where length would usually carry the style.
How to:
- Work a pea-sized amount of pomade through dry hair for control.
- Sweep the top and sides in the direction you want, keeping the crown a little looser for volume.
- Place 3-5 pearl pins in a loose diagonal line on one side, pushing each pin through a small teased section so it grips.
- Secure the opposite side behind the ear with two crossed bobby pins.
- Mist with light spray.
You will need: Pearl pins, bobby pins, pomade, light spray.
Scalp note: Keep the top layer deep enough to hide pin points; pearl pins are more forgiving than plain bobby pins because the eye reads the pearl, not the scalp.
4. Vintage Finger Waves
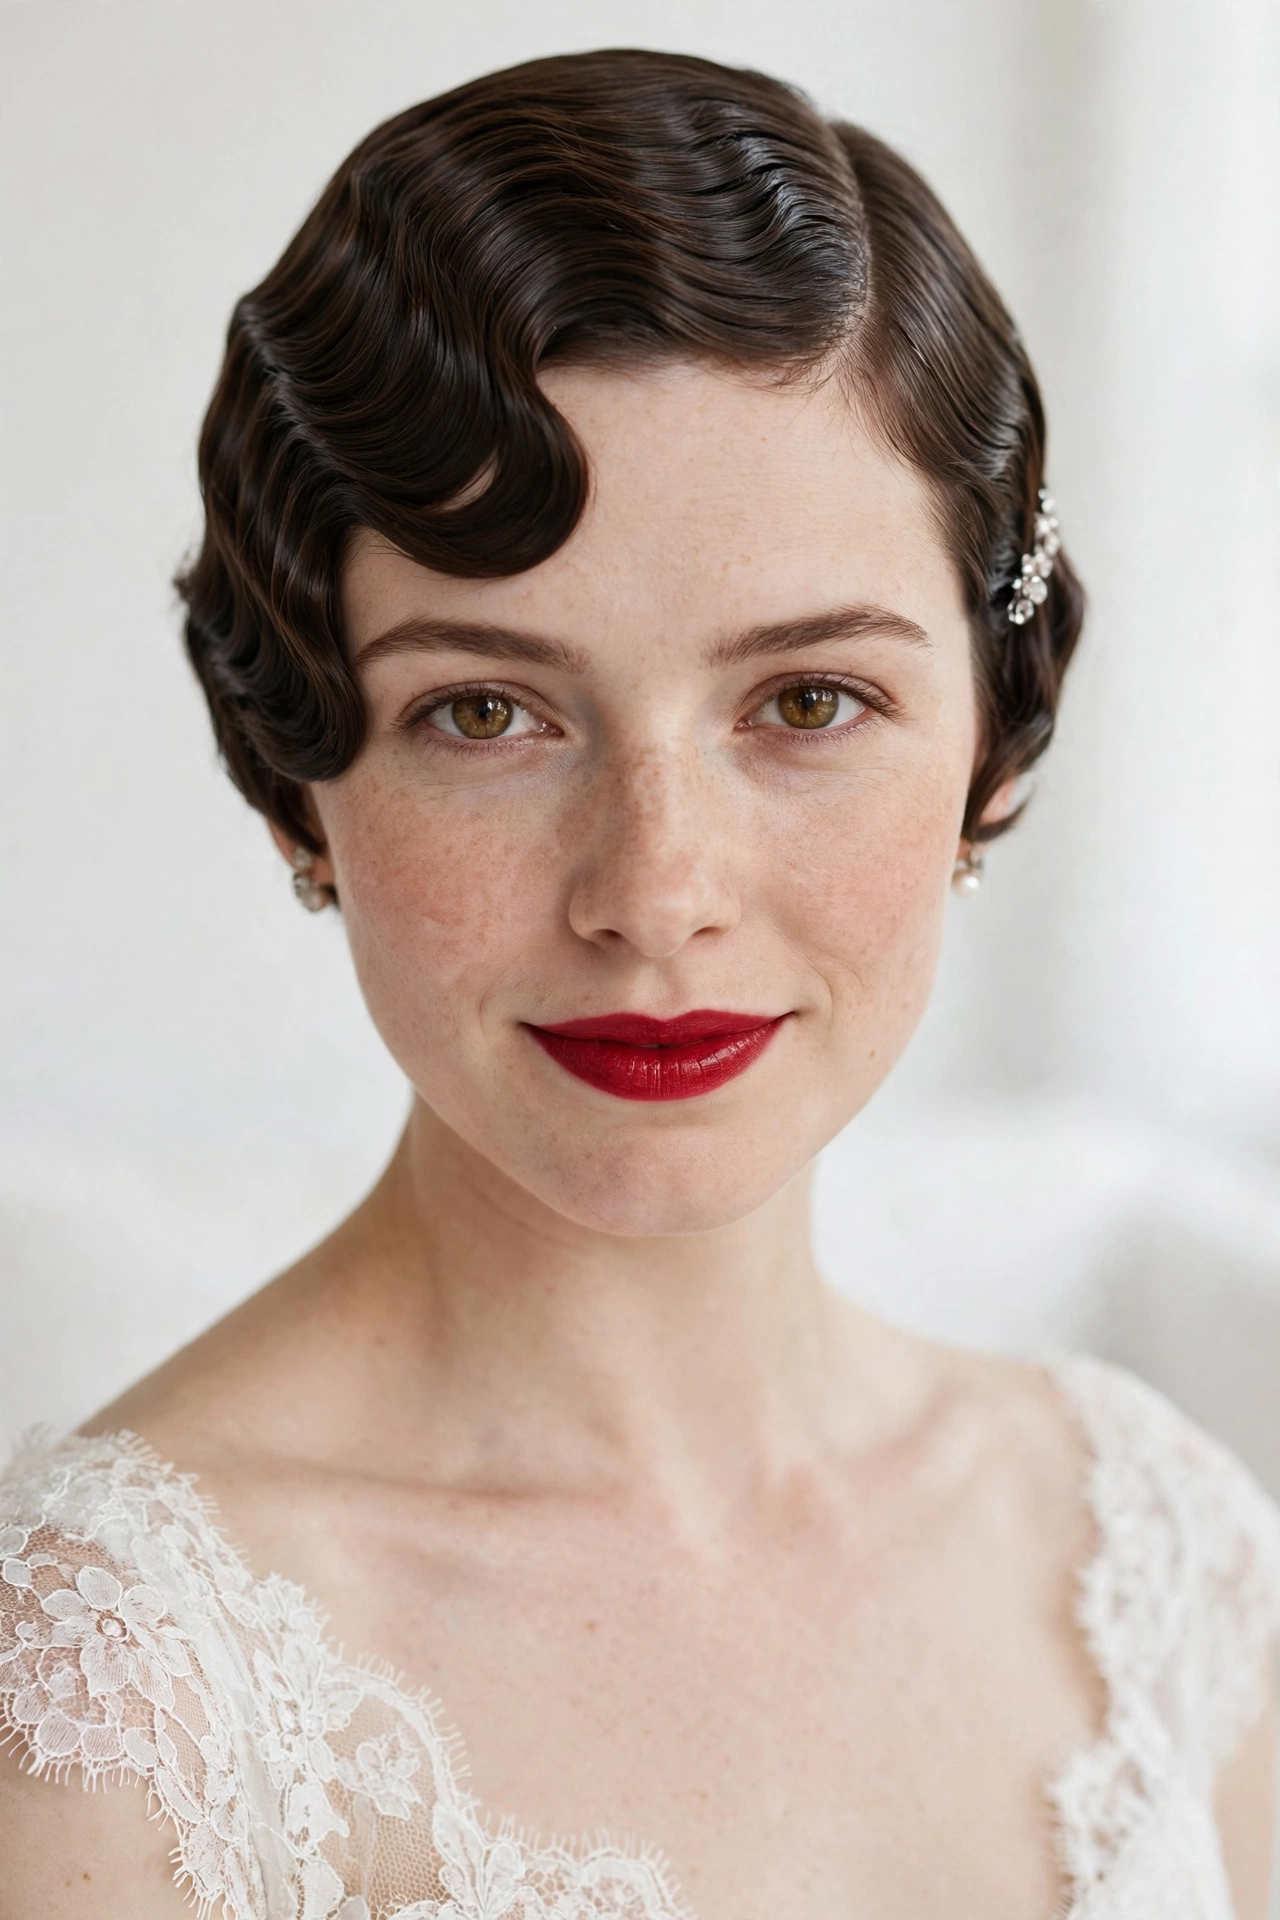
Time: 30 min | Difficulty: Hard | Best for: Vintage or Old Hollywood themes
Finger waves lie close to the head, so they need a little root lift first, or they can look flat on thin hair.
How to:
- Apply strong-hold gel to damp hair, section by section.
- Comb each section into S-shaped waves with a fine-tooth comb, pinning each wave in place with wave clips.
- Let the hair dry completely, or diffuse on low heat.
- Remove the clips, smooth the surface lightly, and mist.
- Add a single hair vine or a small comb at one temple for a bridal finish.
You will need: Strong-hold gel, fine-tooth comb, wave clips, hair vine or small comb.
Scalp note: A deep side part and a little root powder keep the waves from exposing the scalp at the part.
5. Side-Swept Pixie with Deep Part
Time: 15 min | Difficulty: Easy | Best for: Brides who want an easy, modern look
A deep part is the fastest way to make thin hair look thicker: it shifts more hair to one side and creates instant volume at the crown.
How to:
- Part the hair deeply on one side while it is still slightly damp.
- Blow-dry the heavier side forward and up, lifting at the roots.
- Tease the roots at the crown on the heavier side.
- Smooth the top layer over the teasing and sweep the longer side across the forehead.
- Tuck the shorter side behind the ear and pin it flat.
You will need: Blow dryer, round brush, teasing comb, bobby pins.
6. Soft Curled Bob with Root Tease
Time: 25 min | Difficulty: Easy | Best for: Classic weddings, veil wearers
Loose curls plus a teased crown give a bob shape without needing a lot of hair.
How to:
- Tease the crown in sections and smooth the top layer over it.
- Curl the mid-lengths and ends away from the face in 1-inch sections.
- Let the curls cool, then loosen them with your fingers.
- Pin one side back loosely if you want an asymmetrical look.
- Finish with flexible-hold spray.
You will need: Curling iron, teasing comb, flexible-hold spray, bobby pins.
Veil note: A veil comb at the crown sits on top of the teased section, so the veil looks like it is coming from full hair.
7. Half-Up Twist with Crystal Comb
Time: 15 min | Difficulty: Easy | Best for: Brides who want hair down but controlled
A half-up twist lifts the crown and shows off a comb, while the rest of the hair stays down for softness.
How to:
- Tease the crown lightly.
- Take a 2-inch section from each temple, twist each one toward the back, and pin them together at the crown.
- Slide a crystal comb just above the joined twists to cover the pins.
- Leave the rest of the hair down, with loose waves if you like.
- Mist lightly.
You will need: Crystal comb, bobby pins, teasing comb.
Veil note: A veil comb can sit just above the crystal comb, or skip the veil and let the comb be the accessory.
8. Low Rolled Chignon with Veil Comb
Time: 20 min | Difficulty: Medium | Best for: Traditional veils, formal weddings
Rolling, rather than twisting, gives a smooth, full roll even when the hair is short.
How to:
- Tease the crown and smooth the top layer.
- Gather the hair at the nape and roll it upward, tucking the ends into the roll.
- Pin the roll every inch with U-pins.
- Insert the veil comb into the hair just above the roll, angled so it does not pull the roll flat.
- Finish with spray.
You will need: U-pins, veil comb, spray.
9. Messy Textured Crop with Pomade
Time: 10 min | Difficulty: Easy | Best for: Modern, city, or elopement weddings
A textured crop looks intentional when the texture is even and the edges are clean. Pomade gives definition without stiffness.
How to:
- Work a small amount of pomade through dry hair, focusing on the ends.
- Use your fingers to piece out sections on top, creating separation.
- Tease the roots lightly at the crown for height.
- Smooth the sides down and keep the hairline clean.
- Mist with light spray.
You will need: Pomade, teasing comb, light spray.
10. Braided Crown for Short Hair
Time: 25 min | Difficulty: Medium | Best for: Boho or outdoor weddings
Two small braids, pinned across the crown, create a crown effect without needing long hair.
How to:
- Part the hair in the center.
- French-braid or Dutch-braid a 1-inch section from each temple back toward the crown.
- Pin the ends of both braids at the back of the crown, crossing them and tucking the ends under.
- Pull the braids gently to loosen them and make them look fuller.
- Leave the rest of the hair down in soft waves, or pin the remaining hair into a low roll.
You will need: Bobby pins, texture spray, small elastics.
Scalp note: Loosening the braids is essential on thin hair; tight braids show scalp, loose braids cover it.
11. Sleek Side-Part Bob with Tuck
Time: 15 min | Difficulty: Easy | Best for: Sleek, modern weddings, statement jewelry
Sleek does not have to mean flat. A side part, a smooth top, and a tucked side keep the look polished while the crown stays lifted.
How to:
- Part the hair deeply on one side.
- Blow-dry smooth, lifting the roots at the crown with a round brush.
- Tuck the shorter side behind the ear and pin it flat.
- Run a small amount of serum through the ends to control flyaways, without flattening the roots.
- Mist with light spray.
You will need: Blow dryer, round brush, serum, bobby pins.
12. Curly Bob with Diffused Volume
Time: 20 min | Difficulty: Easy | Best for: Naturally curly or wavy hair
Diffusing curls from below lifts the roots and makes a curly bob look full, not weighed down.
How to:
- Apply curl cream to damp hair, scrunching upward.
- Diffuse on low heat, cupping sections and lifting at the roots.
- Let the curls cool, then gently separate clumps with your fingers.
- Pin one side back loosely if you want an asymmetrical look.
- Finish with a light mist.
You will need: Curl cream, diffuser, bobby pins.
13. Twisted Updo with Face-Framing Tendrils
Time: 25 min | Difficulty: Medium | Best for: Romantic weddings, soft veils
Twists are forgiving on thin hair: they gather small sections into a shape that looks fuller than it is.
How to:
- Tease the crown lightly and smooth the top layer.
- Pull out two face-framing tendrils and clip them out of the way.
- Divide the rest into 3-4 sections, twist each one loosely, and pin the twists together at the back of the crown.
- Tuck the ends under and pin securely.
- Release the tendrils, curl them lightly, and mist.
You will need: Bobby pins, U-pins, curling iron, spray.
14. Headband-Anchored Bob
Time: 10 min | Difficulty: Easy | Best for: Brides who want a secure, pretty accessory
A headband holds the hair back, covers the part line, and adds sparkle in one step.
How to:
- Style the bob with loose waves or a smooth finish, as you prefer.
- Tease the crown lightly for height.
- Place a velvet or pearl headband about 1 inch behind the hairline, so it does not flatten the crown.
- Pin the headband in place with two bobby pins behind each ear.
- Mist lightly.
You will need: Velvet or pearl headband, bobby pins, spray.
Veil note: A headband and a veil can work together if the veil comb sits behind the headband, not on it.
15. Voluminous Top Knot for Short Hair
Time: 15 min | Difficulty: Medium | Best for: Fun, modern, or second-look styles
A mini top knot uses only the top section, so short hair can do it too.
How to:
- Section off the top third of the hair, from temple to temple.
- Tease the section at the roots, then gather it into a small ponytail at the crown.
- Twist the ponytail loosely and wrap it around its base to form a knot.
- Pin the knot with U-pins and pull it gently to make it look fuller.
- Leave the rest of the hair down in soft waves.
You will need: Small elastic, U-pins, teasing comb, spray.
16. Elegant Low Ponytail with Wrapped Base
Time: 15 min | Difficulty: Easy | Best for: Minimalist weddings, outdoor ceremonies
Wrapping the base hides the elastic and makes a simple ponytail look bridal.
How to:
- Tease the crown lightly and smooth the top layer.
- Gather the hair into a low ponytail at the nape.
- Take a 1-inch section from underneath the ponytail, wrap it around the elastic, and pin it underneath.
- Pull out a few face-framing strands and curl them lightly.
- Mist with spray.
You will need: Elastic, bobby pins, curling iron, spray.
Veil note: A veil comb above the ponytail base, or a small comb at the crown, works with this style.
How to Anchor a Veil on Short Thin Hair
The veil is not the problem. The anchor is. A veil comb on its own will slide out of thin hair, so give it something to grip.
- Tease first. Backcomb the section where the veil will sit, then smooth the top layer over it. The teasing is the grip.
- Use a small base. Pin a small, tight section at the crown (a mini ponytail or two crossed bobby pins), then slide the veil comb through that base.
- Cross your pins. Two bobby pins crossed in an X hold far better than two parallel pins.
- Test the pull. Tug the veil gently from the side. If it moves, add another crossed pin. Do this before photos, not during them.
- Plan the removal. Decide when the veil comes off (after the ceremony, before the reception), and have someone ready to remove it without pulling the style apart.
All-Day Hold System for Thin Hair
- Prep: Start with second-day hair or dry shampoo at the roots.
- Texture: Texture spray before styling, not after. It gives pins something to hold.
- Pin: Use U-pins for rolls and buns, bobby pins for sides and veil anchors. Pin every inch, not every few inches.
- Spray: Light spray after styling, then a second light mist 10 minutes later. One heavy coat makes fine hair look wet and thin.
- Touch-up kit: Pack 4 bobby pins, 2 U-pins, a mini spray, and root powder. That is all you need for a 12-hour day.
Styles to Avoid on Short Thin Hair
- High, tight ponytails. They pull the sides flat and expose the scalp at the hairline.
- Super-sleek, center-parted styles with no volume. Without root lift, they show every thin spot.
- Heavy, single-piece extensions clipped to one spot. The weight pulls thin hair flat and can show the clip line. (This guide uses no extensions.)
- Very tight braids. Tight braids show scalp between the plaits. Keep braids loose and pulled apart.
- Wet-look styles with heavy gel. Wet-look products clump fine hair together and make it look thinner.
Frequently Asked Questions
Can short thin hair hold an updo all day?
Yes, if the updo is built on teasing and pins, not on spray alone. Tease at every pin point, pin every inch, and test the style by shaking your head gently before you leave.
Do I need extensions for these styles?
No. Every style in this guide is written for the hair you have. Extensions are optional, never required.
What if my hair is both fine and thin?
Use the same styles, but be extra gentle with heat and product. Fine hair damages faster, so keep heat tools on medium and use a heat protectant every time.
How do I keep my scalp from showing in photos?
Root powder on the part line, a deep top layer over every pin, and a daylight check before photos. Those three steps fix most scalp show-through.
Should I wash my hair on the wedding morning?
No, if you can avoid it. Wash the night before, or use dry shampoo at the roots on the morning. Second-day hair holds styles much better.
Short thin hair does not need more hair. It needs the right prep, the right pins, and styles chosen for density. Pick one style from this guide, do a full trial with your veil and accessories, and photograph it in daylight. That trial is what turns a good style into a wedding-day style.
Choosing Guide: Match the Style to Your Cut, Texture, Face, and Venue
Pixie cuts suit sculpted, pinned, and accessorised styles — do not force a bun. Chin-length bobs suit waves, sweeps, and half-up joins. Lobs and shoulder-length hair have enough length for buns, twists, tucks, and bubbles. Straight hair holds sculpted and sleek finishes best. Wavy hair is free volume — enhance it, do not fight it. Curly and coily hair: pin the crown and let the pattern be the style. Round faces: height at the crown plus side volume lengthens the face — avoid centre parts and flat slicked styles. Oval faces suit every silhouette, so choose by gown and venue instead. Garden and outdoor weddings: pinned and braided styles survive wind — carry extra pins. Beach: low, tucked, humidity-proof shapes; skip tall crowns that wind destroys. Winter: structured updos survive hats, hoods, and static — add anti-static spray. Summer: off-the-neck styles stay comfortable; use dry shampoo at the hairline against sweat. For older brides (over 50): softer is better — a textured chignon, soft waves, a half-up twist, or a Gibson tuck with a light hold and face-framing tendrils flatters more than severe slicked looks. A layered cut 2–3 weeks before the wedding adds movement without losing length. Bangs and fringe: curtain bangs pair with any updo — keep them soft and piecey. A blunt fringe suits down styles best. Side-swept fringe is the most forgiving on thin hair: it adds coverage at the temple where scalp shows first.
Prep Timeline: The Week Before + Morning Of
- 2–3 weeks before: get a layered trim (layers = movement = fullness illusion). Test any new product on a small patch of skin — an allergic reaction the week of the wedding is a disaster.
- 1 week before: full trial run with your stylist, WITH your veil, headpiece, earrings, and a photo of your gown’s neckline. Photograph the style from front, back, both profiles, and in flash — flash is where scalp show-through appears.
- Night before: wash with volumizing shampoo, skip heavy conditioner on the roots (ends only), and let hair air-dry or blow-dry upside down. This is your second-day hair — the gold standard for updos.
- Morning of: dry shampoo at the roots, mousse on damp roots if re-wetting, then build the style. Budget 10 minutes more than the style’s listed time — thin hair needs unhurried pinning.
- Touch-up kit (pack it): 4 bobby pins, 2 U-pins, travel hairspray, travel dry shampoo, a few hair fibres or root powder, and a silk scarf for travel between venues (it protects texture from wind).
Budget vs Premium Kit
A mesh donut (about $5–$10) and a bottle of hair fibres (about $10–$15) do more for short thin hair than a full head of clip-ins, at a fraction of the cost and with nothing to hide.
| Budget under $15 | Premium $25–$60 |
|---|---|
| Mousse: TRESemmé Extra Firm Control Mousse | Oribe Grandiose Hair Plumping Mousse |
| Texture spray: Sun Bum Sea Mist | Oribe Dry Texturizing Spray |
| Hairspray: L’Oréal Elnett Satin | Kérastase Laque Couture |
| Dry shampoo: Batiste Original | Klorane Dry Shampoo with Oat Milk |
| Donut / padding: Conair mesh donut (3-pack) | Sleek bun maker + colour-matched hair filler |
| Fibres / root powder: Toppik hair fibres (travel size) | Colour Wow Root Cover Up powder |
| Pins: Goody bobby pins (50-count) | France Luxe U-pins + bobby pins |
| Shine serum: John Frieda Frizz Ease | Kérastase Elixir Ultime |
Colour trick: subtle highlights and lowlights add depth that reads as thickness — one dimension of flat colour shows scalp more. Ask your colourist for dimension 2–3 weeks before the wedding, never the week of.
Pro Tips from Stylists
- Photograph the back. You will be photographed from behind all day (ceremony, first dance, exit). Check the back view at your trial — most thin-hair failures hide there.
- The shake test is non-negotiable. After styling, shake your head firmly side to side and nod. Anything that shifts gets another crossed pin NOW, not on the dance floor.
- Crossed pins beat parallel pins. Two pins crossed in an X hold 3x better on slippery hair than two parallel pins.
- Cool curls before touching them. Hot curls pulled apart go straight. Pinned-and-cooled curls hold for hours.
- Less product, more technique. Thin hair collapses under heavy product. One mousse, one texture spray, one hairspray — that is the whole kit.
- Bring your veil to the trial. A veil changes the weight, the balance, and the anchor. A style that holds without a veil can fail with one.